How To Prepare for a REScheck Inspection: Pass Your Energy Code Compliance Evaluation
Preparing for a REScheck inspection can feel overwhelming for homeowners tackling new construction or major renovation projects. When considering how to prepare for a REScheck inspection, it's important to understand that these energy code compliance reports are required in many municipalities to demonstrate adherence to established energy efficiency standards. Without proper preparation, homeowners may face costly delays, rework, and frustration.
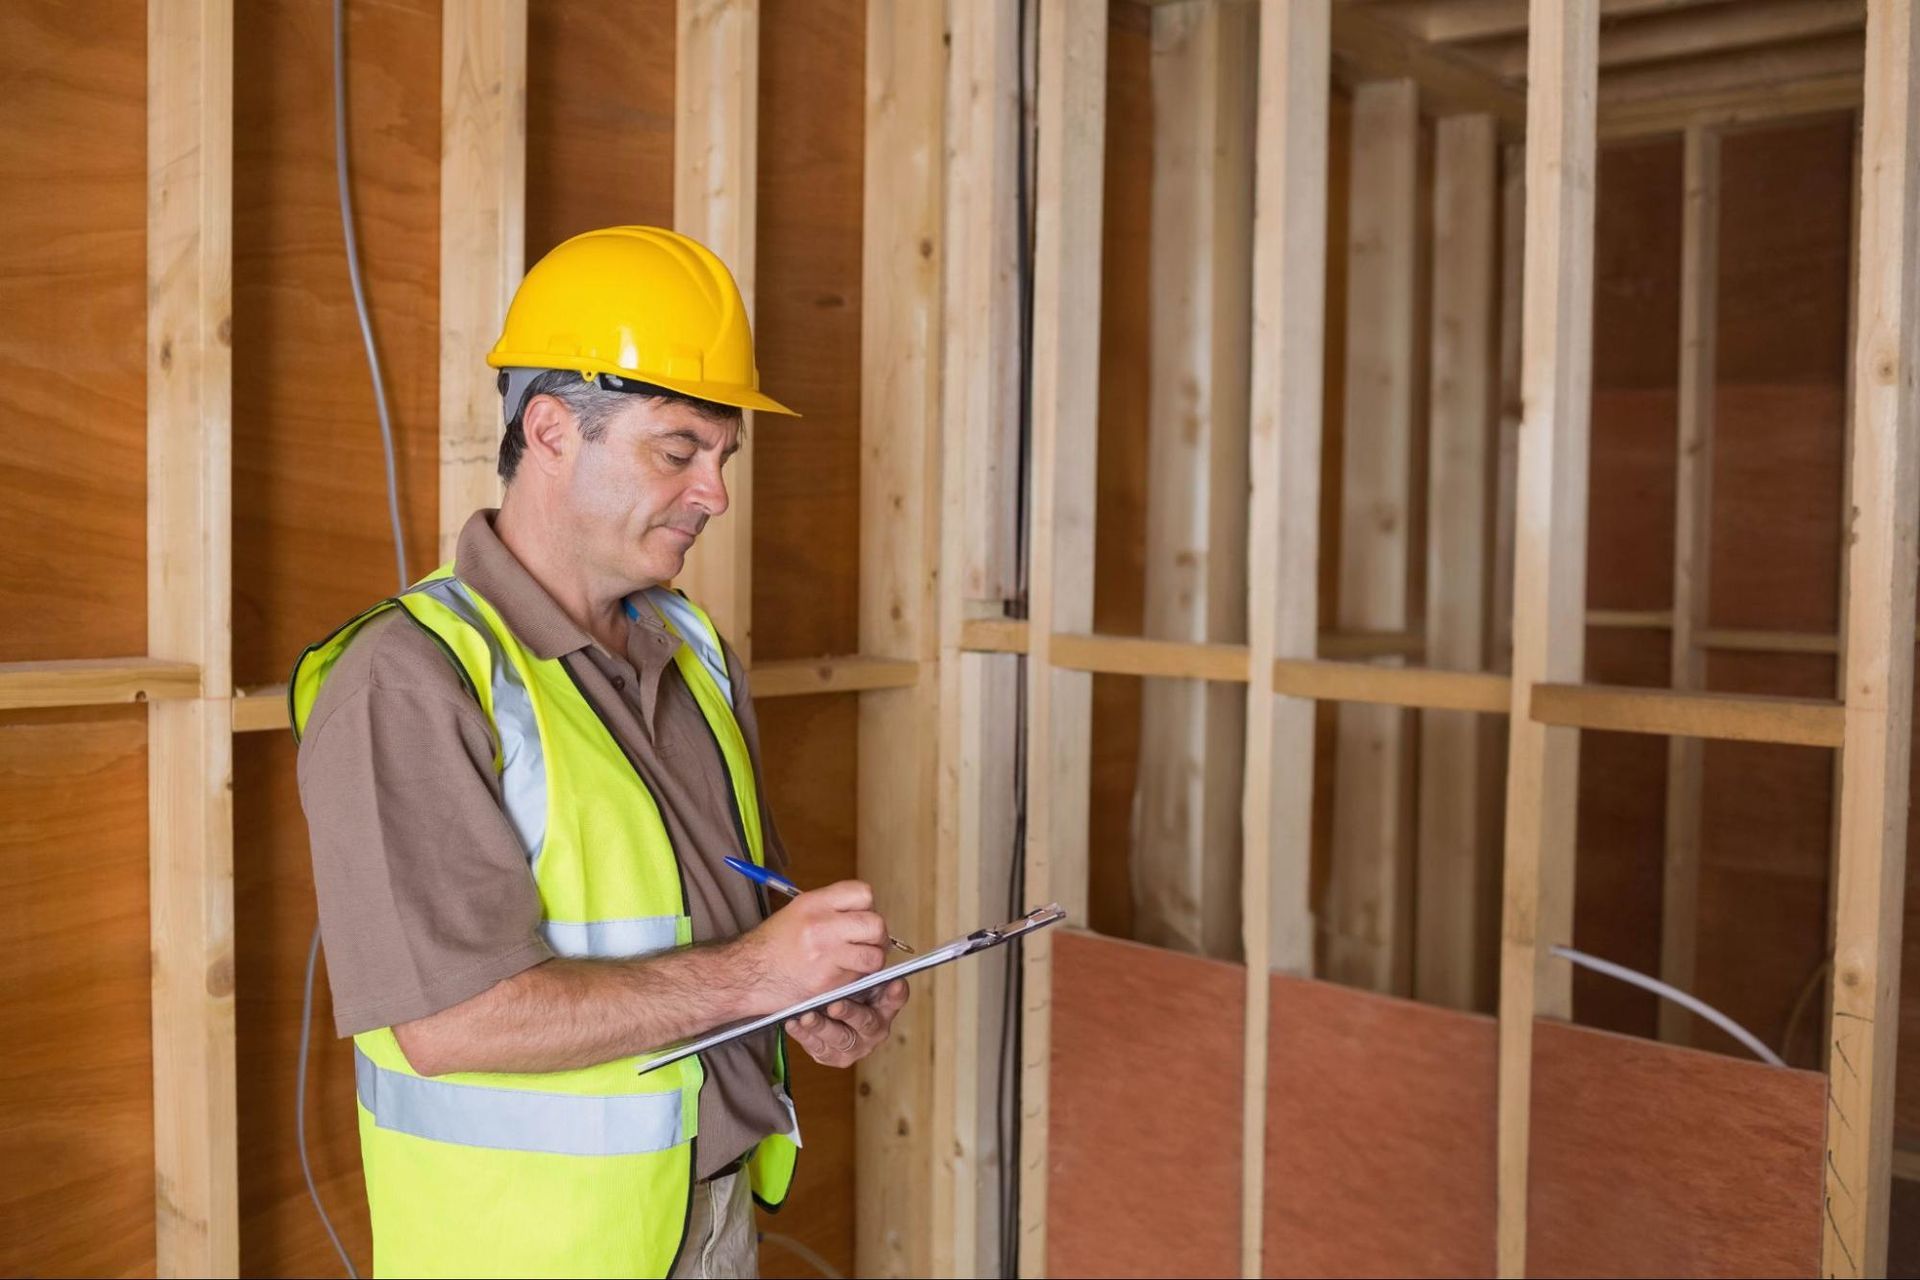
Fortunately, navigating the REScheck inspection process doesn't have to be stressful. With the right knowledge and preparation, property owners can ensure their projects meet all necessary requirements before inspectors arrive. Understanding what inspectors look for—particularly before drywall and exterior siding installation—can help identify potential issues early when corrections are less expensive and disruptive.
What Is REScheck and Why It Matters
REScheck is a compliance software program developed by the U.S. Department of Energy to help builders, contractors, and homeowners verify that their residential buildings meet energy code requirements. This specialized tool evaluates a building's thermal envelope—including walls, floors, ceilings, windows, and doors—to determine if the construction meets or exceeds energy efficiency standards established by local building codes.
The importance of REScheck can't be overstated in today's construction landscape. Energy-efficient homes reduce utility costs for homeowners while decreasing environmental impact through lower energy consumption. Many municipalities now require REScheck reports as part of the building permit application process for new construction and major renovation projects.
REScheck matters because it offers a straightforward path to code compliance. Rather than forcing builders to meet prescriptive requirements for each building component, the software uses a trade-off approach. This means that exceptional performance in one area (like high-quality insulation) can offset lower performance in another area (such as larger windows), provided the overall energy efficiency meets code requirements.
For homeowners planning construction projects, understanding REScheck early in the process helps avoid costly redesigns and construction delays. The inspection verifies that all energy conservation measures documented in your REScheck report are properly implemented, ensuring your investment delivers the energy efficiency benefits you're paying for.
Learn more about our construction and design services that can help ensure your project meets REScheck requirements.
Understanding REScheck Inspection Requirements
REScheck inspection requirements stem from energy code compliance standards established to ensure residential buildings meet minimum energy efficiency criteria. These requirements vary by municipality but typically focus on the building's thermal envelope, including insulation, windows, doors, and HVAC systems.
Energy Code Compliance Basics
Energy code compliance forms the foundation of REScheck inspections, focusing on how effectively a home conserves energy. The International Energy Conservation Code (IECC) sets the benchmark standards that residential buildings must meet. REScheck software evaluates a home's thermal envelope components against these standards, including wall insulation R-values, window U-factors, door specifications, and foundation insulation. The software uses a trade-off approach, allowing stronger performance in some areas to compensate for weaker performance in others, provided the overall energy efficiency meets or exceeds code requirements. This flexibility helps homeowners and builders achieve compliance while maintaining design freedom. Understanding these basics helps prepare for successful inspections by ensuring all building elements contribute to energy efficiency.
Documentation Needed for REScheck Inspection
Proper documentation is crucial for a successful REScheck inspection. Homeowners must compile a comprehensive REScheck report generated through the DOE's compliance software, detailing all thermal envelope specifications. This report includes building dimensions, insulation R-values for walls, ceilings, and foundations, window and door U-factors, and HVAC system efficiency ratings. Construction drawings showing insulation placement, air sealing details, and building assembly specifications must accompany the report. Manufacturers' documentation for all installed materials and equipment, including insulation, windows, doors, and HVAC systems, provides verification of energy performance claims. Product labels and certification documents from energy efficiency programs offer additional proof of compliance. Maintaining organized records of these documents streamlines the REScheck inspection process and demonstrates commitment to energy code requirements.

Steps to Prepare for Your REScheck Inspection: How To Prepare for a REScheck Inspection
Preparing for a REScheck inspection requires methodical planning and attention to detail. These essential steps ensure your residential project meets energy code compliance requirements without costly delays or modifications during the inspection process.
Gathering Building Plans and Specifications
Comprehensive documentation forms the foundation of a successful REScheck inspection. Start by collecting detailed architectural drawings that include floor plans, elevations, and cross-sections showing the building's dimensions and layout. Compile specifications for all thermal envelope components, including insulation materials with their corresponding R-values for walls, ceilings, floors, and foundation. Gather product data sheets for windows and doors with their U-factors and Solar Heat Gain Coefficients (SHGC). Document HVAC system specifications, including efficiency ratings and sizing calculations. Organize these materials in a single folder—digital or physical—and create a checklist to ensure nothing is missing. This complete documentation package demonstrates your commitment to compliance and provides inspectors with all necessary information to verify that your construction meets energy code requirements.
Calculating Building Envelope Components
Accurate measurements and calculations of all building envelope components are critical for REScheck compliance. Measure the gross area of each wall, floor, ceiling, and roof section, accounting for different construction assemblies and insulation levels. Calculate the total window and door area for each orientation (north, south, east, west) as these impact energy performance differently. Determine the perimeter and area of slab floors and the linear footage of foundation walls. Record the thermal properties of each component, including R-values of insulation and U-factors of fenestration products. Pay special attention to thermal bridges where heat loss commonly occurs, such as corners, rim joists, and transitions between different building elements. These detailed calculations allow the REScheck software to accurately evaluate your building's overall thermal performance against energy code requirements.
Running the REScheck Software Correctly
Operating the REScheck software requires attention to detail to generate an accurate compliance report. Begin by downloading the latest version from the Department of Energy's website to ensure you're using current energy code standards. Select the appropriate code year and location as requirements vary by jurisdiction. Enter all building envelope components precisely as measured, including orientation-specific window and door details. The REScheck inspection process relies on accurate input of insulation R-values, window U-factors, and building dimensions. Verify all entries before generating the report, as errors can lead to false compliance results. If the initial results don't show compliance, explore different options like increasing insulation in specific areas or upgrading windows until the software indicates code compliance. Generate the final report, which includes a compliance certificate, inspection checklist, and detailed component descriptions. This comprehensive document serves as the basis for your energy code inspection and demonstrates your project's adherence to required standards.

Common REScheck Inspection Failures to Avoid
REScheck inspections frequently reveal specific areas where residential projects fall short of energy code compliance. Understanding these common failures helps homeowners and contractors address potential issues before inspection, avoiding costly corrections and project delays. The following sections highlight the most frequent compliance problems and provide practical solutions to ensure your project passes inspection the first time.
Insulation Issues and Solutions
Insulation problems represent the most frequent REScheck inspection failures. Common insulation issues include improper R-value installation, compression that reduces effectiveness, gaps in coverage, and missing insulation in critical areas like rim joists and attic hatches. Inspectors check for consistent depth of installation and complete coverage across the thermal envelope.
To avoid these failures, verify that insulation materials match the R-values specified in your REScheck report, install insulation without compression, ensure continuous coverage with no gaps, and pay special attention to often-overlooked areas like band joists, corners, and transitions between different building assemblies. Proper air sealing before insulation installation prevents thermal bypasses that undermine energy efficiency. Taking photos of properly installed insulation before drywall installation provides documentation for inspectors and helps verify compliance with your REScheck report specifications.
Window and Door Compliance Problems
Window and door specifications frequently lead to REScheck inspection failures when installed products don't match the energy performance values in the compliance report. Common window and door compliance problems include installing units with higher U-factors than specified, improper air sealing around openings, and missing NFRC (National Fenestration Rating Council) labels that verify energy performance. REScheck inspections examine window and door U-factors, Solar Heat Gain Coefficients (SHGC), and proper installation to confirm alignment with report values.
To avoid these issues, preserve all NFRC labels until after final inspection, select windows and doors that meet or exceed the performance values in your REScheck report, ensure proper air sealing around all openings, and maintain detailed product documentation from manufacturers. These measures help demonstrate compliance with energy code requirements and prevent the need for costly replacements during the REScheck inspection process.

Post-Inspection Follow-Up Procedures
After completing your REScheck inspection, proper follow-up procedures ensure compliance with energy code requirements and smooth project progression. Understanding these critical next steps helps homeowners address any identified issues efficiently and maintain compliance documentation for future reference.
Addressing Non-Compliance Issues
Non-compliance findings from a REScheck inspection require immediate attention to keep your project on schedule. Start by thoroughly reviewing the inspector's report to understand each identified issue. Create a prioritized remediation plan that addresses critical thermal envelope problems first, such as inadequate insulation or improper air sealing. Contact your contractor promptly to schedule the necessary corrections, providing them with specific details from the inspection report. Take clear photos before and after corrections to document the changes made. For complex compliance issues, consult with energy efficiency specialists who can recommend cost-effective solutions that meet code requirements without extensive modifications.
Maintaining Compliance Documentation
Proper documentation management after a REScheck inspection protects your investment and simplifies future property transactions. Organize all inspection reports, compliance certificates, and remediation records in both digital and physical formats. Include detailed photos of compliant installations before they're covered with drywall or exterior finishes. Store manufacturers' specifications for all energy-efficient components installed in your home, including insulation, windows, doors, and HVAC equipment. Create a comprehensive energy compliance file that contains your initial REScheck report, inspection documentation, and any subsequent modifications. This organized approach proves invaluable during property sales, renovations, or insurance claims requiring verification of energy code compliance.
Conclusion
Preparing for a REScheck inspection doesn't have to be overwhelming. Understanding how to prepare for a REScheck inspection by gathering requirements, proper documentation, and addressing common failure points proactively allows homeowners to navigate the process with confidence.
Working with REScheck professionals adds valuable expertise that can prevent costly mistakes and delays. Remember that successful compliance isn't just about passing an inspection—it's about creating an energy-efficient home that offers long-term savings and comfort.
Take time to document all modifications thoroughly and maintain organized records for future reference. With careful preparation and attention to detail, your project will meet energy code requirements and contribute to a more sustainable built environment.
Frequently Asked Questions
What is a REScheck inspection?
A REScheck inspection verifies that your home meets energy efficiency standards required by local building codes. It uses compliance software developed by the U.S. Department of Energy to evaluate your building's thermal envelope, including insulation, windows, doors, and HVAC systems. This inspection is typically required for new construction or major renovations before you can receive final approval for occupancy.
When should I prepare for a REScheck inspection?
Start preparing for a REScheck inspection during the planning phase of your construction project. Understanding requirements early helps you avoid costly redesigns and construction delays. The most critical time to ensure compliance is before installing drywall and exterior siding, as these elements hide the thermal envelope components that inspectors need to examine.
What documents do I need for a REScheck inspection?
You need a comprehensive REScheck report detailing thermal envelope specifications, building dimensions, insulation R-values, window and door U-factors, and HVAC efficiency ratings. Additionally, have construction drawings and manufacturers' documentation for all installed materials ready. These documents verify your energy performance claims and streamline the inspection process.
What are the most common reasons for failing a REScheck inspection?
The most common failures include improper insulation installation (inadequate R-values or gaps in coverage), window and door compliance issues (mismatched energy performance values), and insufficient air sealing around penetrations. Other failures involve HVAC system efficiency that doesn't match documentation and thermal bridging issues that compromise the building envelope's overall performance.
Should I hire a REScheck professional?
Hiring a REScheck professional is highly recommended, especially for first-time builders or complex projects. These experts handle technical aspects of inspections, evaluate building plans before construction, identify potential compliance issues early, and help avoid costly mid-construction modifications. The investment typically pays for itself through reduced construction delays and optimized energy-efficient designs.
How do energy code requirements vary by location?
Energy code requirements vary significantly based on your climate zone and local municipality. While most jurisdictions use the International Energy Conservation Code (IECC) as a baseline, many adopt modifications specific to their region. Northern states typically require higher insulation values and more stringent air sealing, while southern regions focus more on cooling efficiency and solar heat gain prevention.
What happens if my home fails the REScheck inspection?
If your home fails inspection, you'll receive a detailed report of non-compliant items. You'll need to create a remediation plan, make the necessary corrections, and schedule a re-inspection. Depending on the issues, this could involve removing finished materials to access problem areas, adding insulation, replacing windows, or improving air sealing measures. This process can cause significant project delays and additional costs.
How can I ensure my REScheck inspection goes smoothly?
To ensure a smooth inspection, thoroughly document all energy-efficient components before they're concealed, follow manufacturer installation instructions precisely, conduct pre-inspections with your contractor, address any issues immediately, and keep organized records of all energy-related materials and installations. Working with experienced contractors familiar with energy code requirements also significantly improves your chances of passing the first time.