Step-by-Step Guide to Home Inspection Success

Edward Fisher • December 9, 2024
  • Home inspections protect buyers by revealing property issues before closing.
  • Inspectors check: roof, foundation, plumbing, electrical, HVAC systems.
  • Buyer's presence is crucial for understanding the inspection.
  • Pre-inspection preparations: confirm details, review property, ensure access, prepare questions.
  • Inspection reports highlight major and minor issues; prioritize repairs based on severity.
  • Negotiation strategies: communicate clearly about significant issues or defects.
  • Options: proceed with purchase, negotiate repairs, withdraw offer if issues are severe.


A missed flaw in your future dream home could turn into a costly nightmare, but navigating the complexities of the home inspection process might feel like decoding a mysterious language, yet it plays a critical role in safeguarding your investment. This step-by-step guide to home inspection success aims to demystify the inspection process, providing property owners with the knowledge to ensure safety, efficiency, and compliance. Read on to unlock insights that could save your time and money.


Understanding the Home Inspection Process


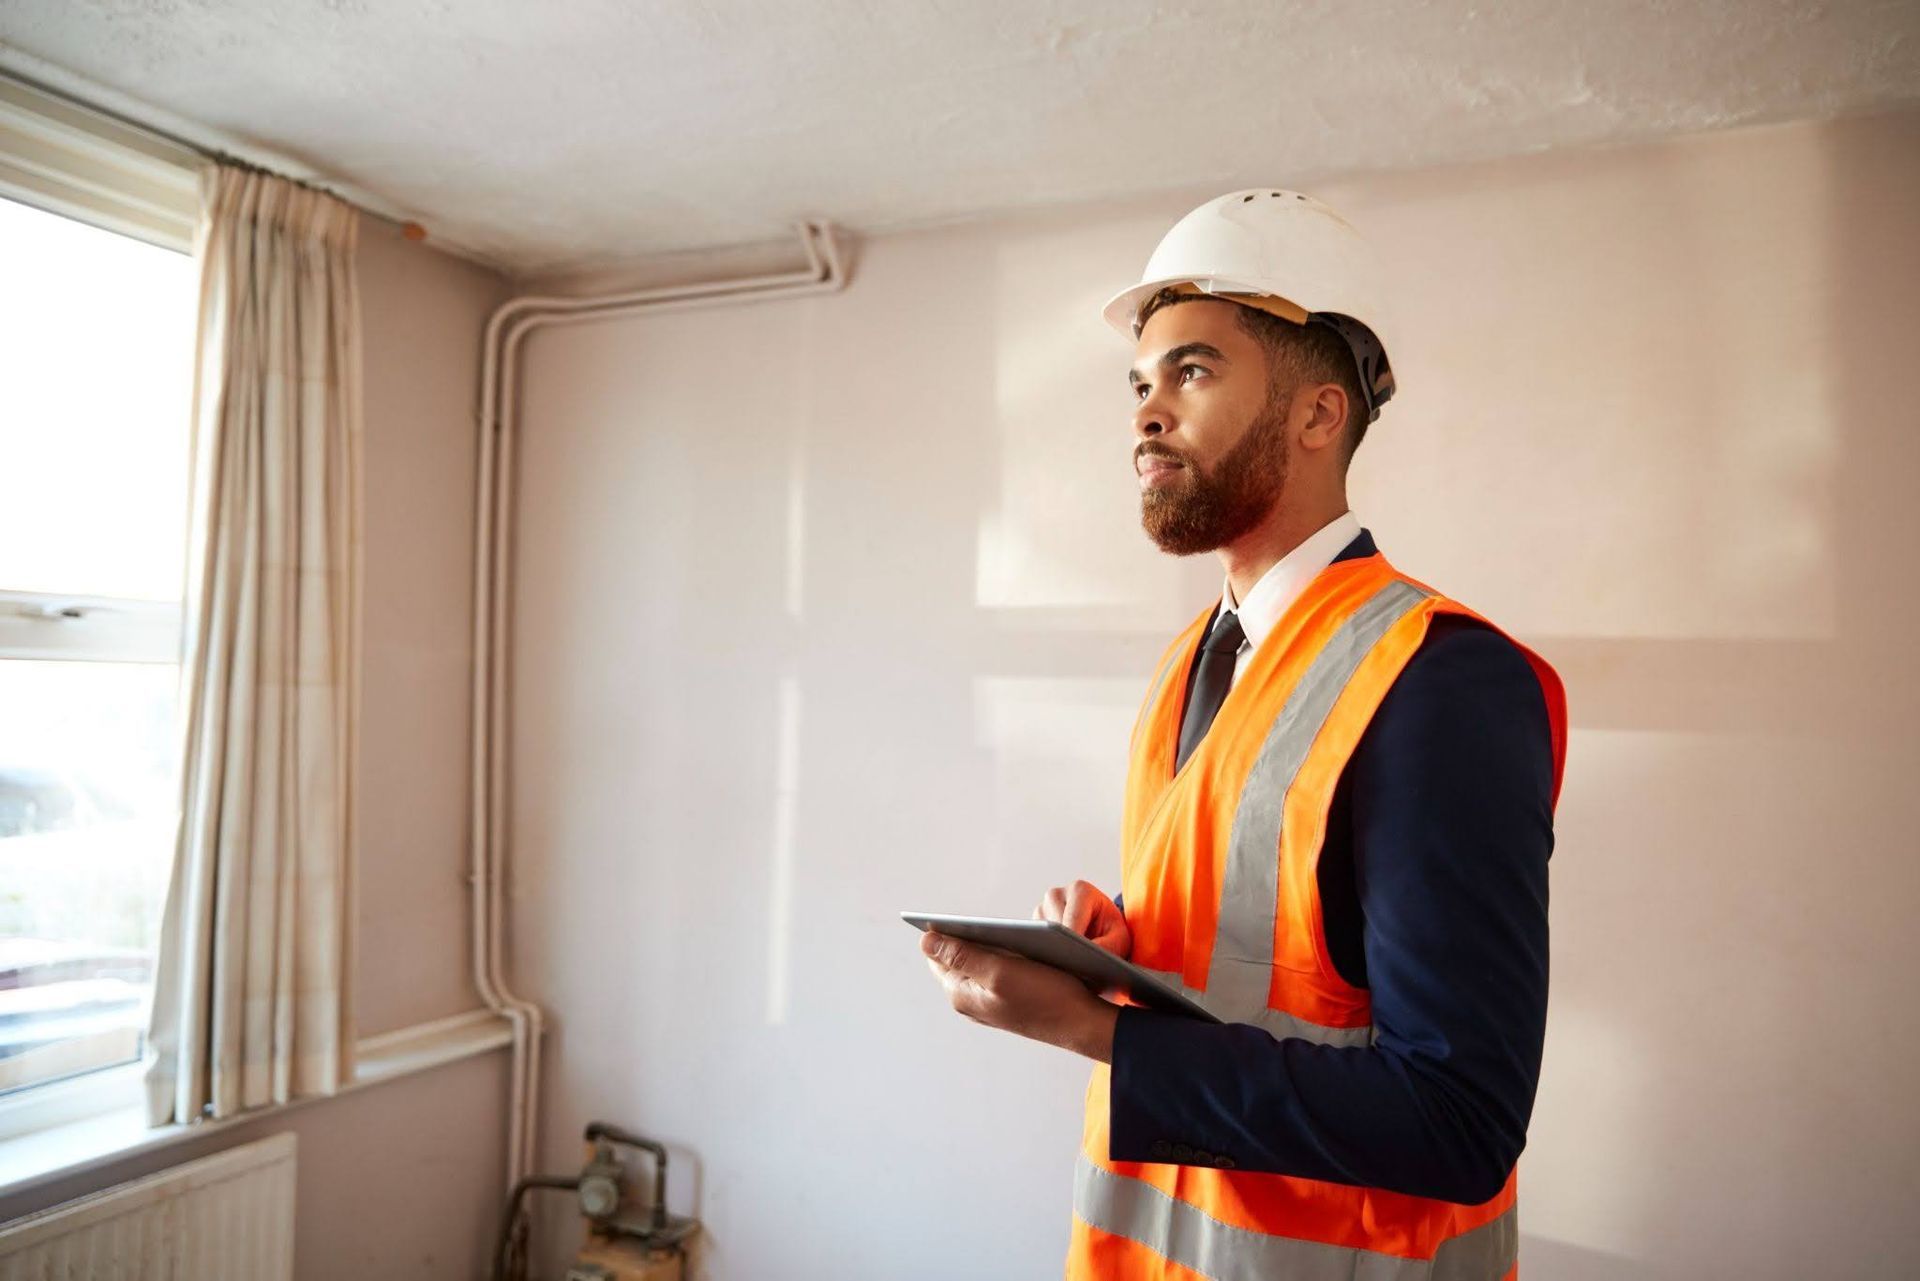
A home inspection plays a key role in the real estate transaction. It acts as a safety net in the purchase agreement, giving potential buyers a clear view of the property’s condition before closing the deal. The main goal is to spot any problems that might impact the property’s value or safety. Finding these issues early helps buyers make informed choices, negotiate repairs, or even retract their offer if necessary. This step ensures investment protection and transparency between buyers and sellers.


Inspections last about two to four hours, during which the inspector thoroughly examines major systems and structures. This examination can reveal hidden problems, saving buyers from expensive repairs later on.


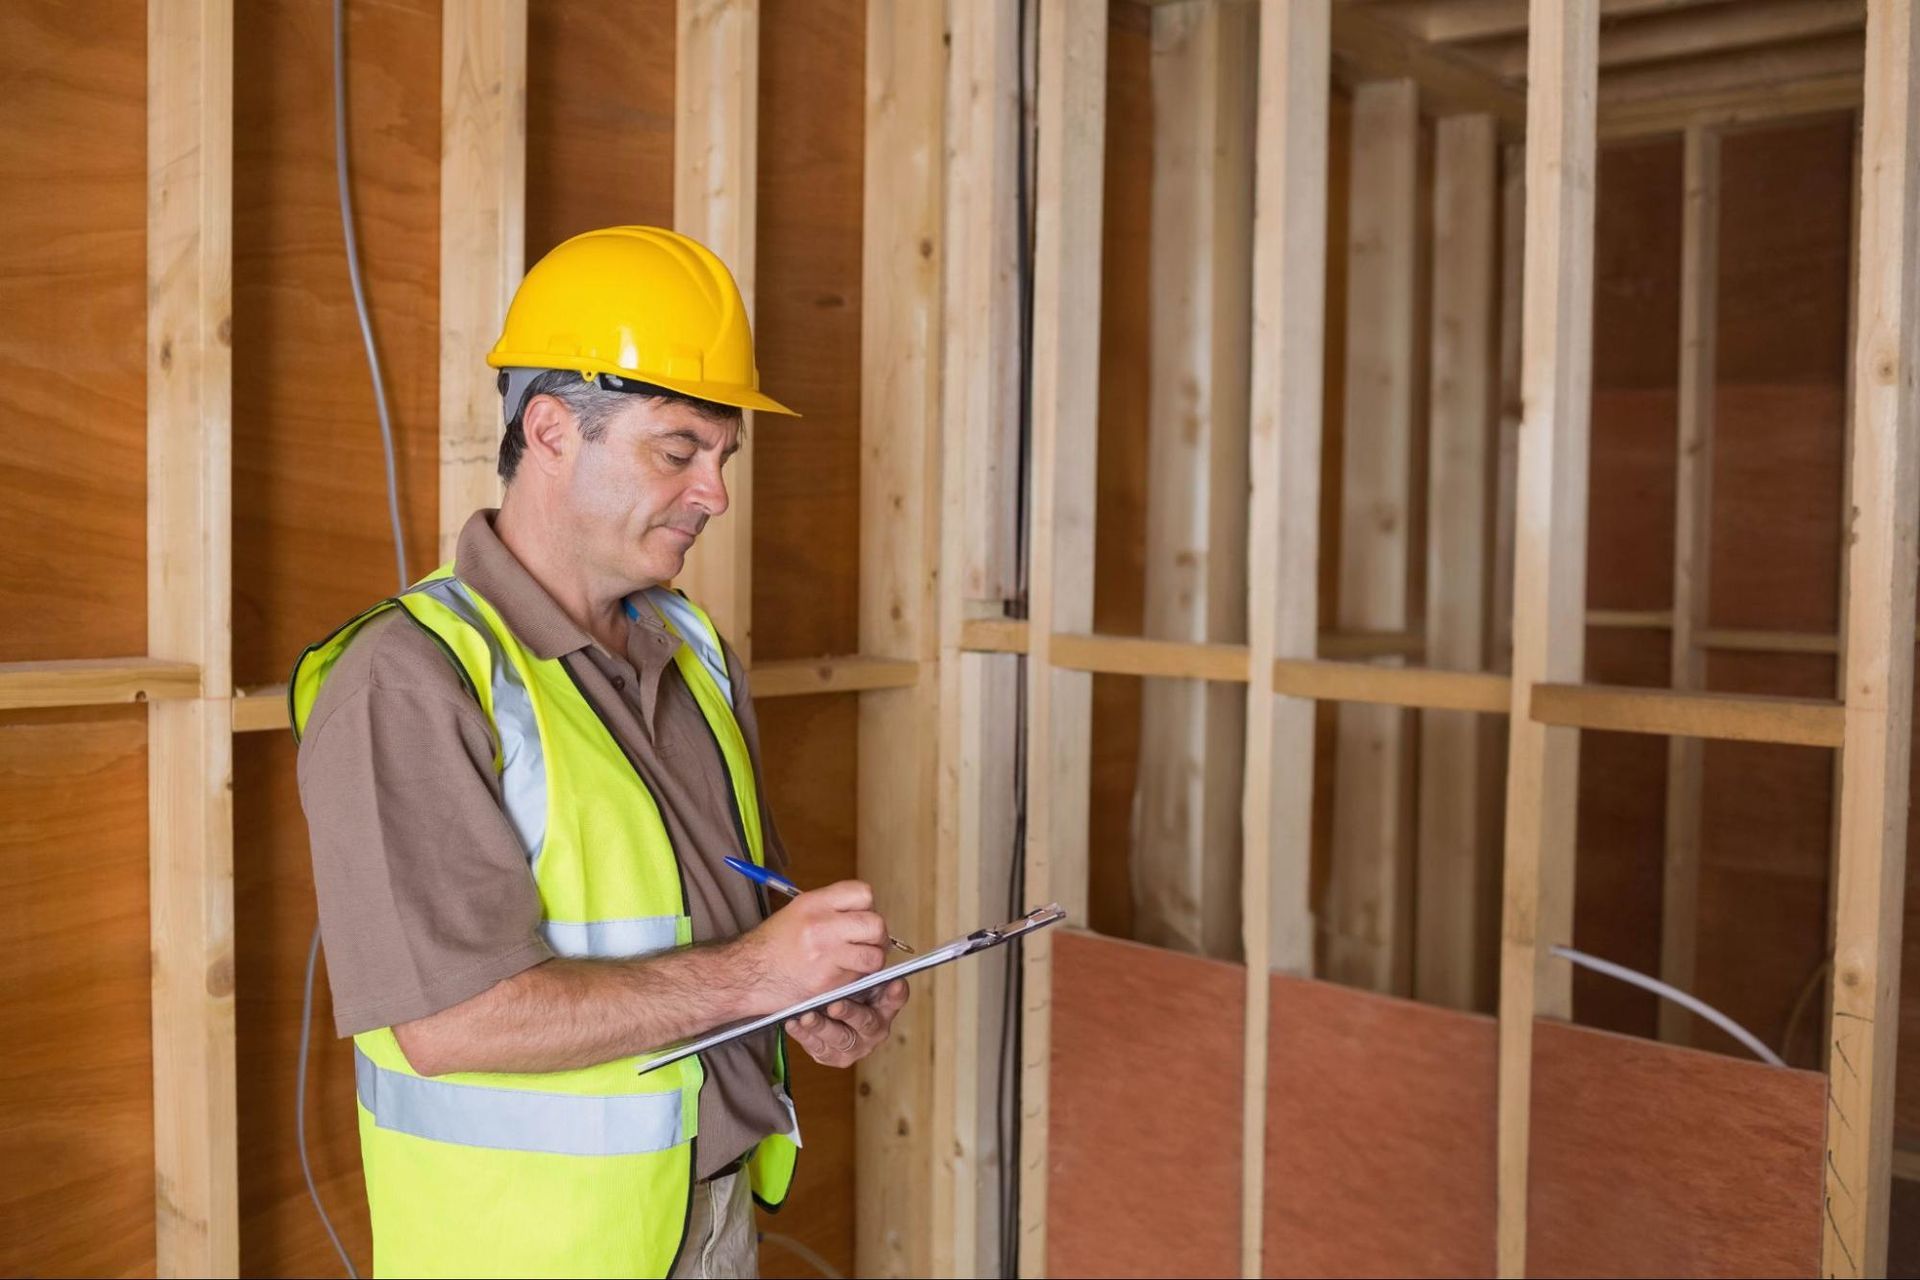
During a home inspection, several vital components are carefully checked. Inspectors concentrate on key areas that can affect the property's safety and stability. These main areas include:


  • Roof
  • Foundation
  • Plumbing
  • Electrical systems
  • Heating and cooling systems


By assessing these components, inspectors can spot issues like structural damage, leaks, wiring problems, and HVAC inefficiencies. This analysis offers buyers a full view of the property’s condition, allowing them to proceed confidently.


Preparing for a Home Inspection


Preparing-for-a-Home-Inspection-1.jpg

Being present during the home inspection is critical for buyers. Why? It gives a chance to interact directly with the inspector, ask questions, and understand the property's condition better. Watching the inspection live allows buyers to address concerns and clarify findings not apparent from the report alone. Active involvement shapes decision-making by highlighting repair and maintenance needs.


Before inspection day, some tasks can make the process smoother. Checking the property's location is crucial to ensure it suits your lifestyle and expectations. Reviewing the neighborhood at different times helps assess traffic, noise, and amenities. Ensure open access to all crucial areas, like attics and basements, for the inspection. Preparing a list of questions for the inspector also aids in addressing specific concerns efficiently.


Key Components Assessed During a Home Inspection


1. Structural Assessment


Why is evaluating a property's structure important? Structural integrity is vital for safety and longevity. Inspectors examine the foundation and framing to find cracks, shifting, or settlement, which could harm stability. Detecting structural damage early helps prioritize repairs, maintaining the property's value and safety.


2. Plumbing Inspection Details

Inspectors check for leaks, water pressure, and plumbing functionality. Leaks can cause water damage and mold, posing health risks and expensive repairs. Inspectors also check pipes, faucets, and fixtures, ensuring safety standards and efficiency. This thorough check helps owners avoid surprise repairs and keeps living environments safe and healthy.

3. Electrical Systems Check


How is electrical safety assessed? Inspectors look at wiring, outlets, and circuit breakers, checking for any faults or outdated components that could be dangerous. Proper electrical evaluations prevent fire risks and ensure infrastructure supports modern needs, enhancing safety and efficiency.


4. HVAC System Evaluation


Inspectors check if heating, ventilation, and air conditioning systems run efficiently and meet safety standards. They look for wear, leaks, or poor installation affecting performance. An efficient HVAC system is key for good air quality and comfort. Early issue detection prevents repairs and keeps systems energy-efficient and reliable.


How to Handle Inspection Findings


An inspection report provides a complete view of the property's condition, marking both major and minor issues. Understanding it helps set repair priorities, focusing on safety-impacting defects or costly issues like foundational cracks or electrical hazards. Reports often have photos and details that clarify severity and urgency.


Effective negotiation relies on clear communication and understanding inspection details. Buyers should focus on pressing issues from the report, like outdated systems or leaks. Present them with supporting inspection info and propose solutions like repairs or a price cut reflecting costs. Negotiations typically involve compromise, with sellers addressing critical repairs, while buyers may overlook minor issues.


When to proceed or reconsider the purchase based on significant issues?


This depends on severity and cost impacts of findings. If repairable or within budget, continuing is viable. If serious, posing risks or extensive work, withdrawing may be wise. Buyers should weigh financial impact and convenience of fixing major defects before deciding.


Final Words


Understanding the home inspection process is crucial for navigating real estate transactions effectively.

From assessing structural integrity to evaluating HVAC systems, a comprehensive inspection highlights potential issues, safeguarding investments and ensuring regulatory compliance.


A step-by-step guide to the home inspection process empowers property owners to address these concerns proactively, enhancing value and peace of mind.


FAQ


What is the biggest red flag in a home inspection?


The biggest red flag in a home inspection is often structural issues, such as cracks in the foundation, which can significantly impact property value and safety.


What happens during the inspection process?


During the inspection process, a licensed inspector evaluates major aspects of the property, including the roof, foundation, plumbing, electrical systems, and heating and cooling systems, to identify any potential issues.


What is the checklist of inspection?


An inspection checklist typically includes assessing the roof, foundation, plumbing, electrical systems, and heating and cooling systems to ensure the property's condition and safety.


What are the five steps involved in planning an inspection?


The five steps in planning an inspection involve confirming the inspection appointment, reviewing property location, ensuring access to all areas, compiling questions for the inspector, and verifying utility functionality.

Woman holding paper on a kitchen counter
By Edward Fisher June 4, 2025
Planning a small remodeling project? Discover essential tips to make it stress-free and successful, from budgeting to design and project timelines.
Man handling a hand drill
By Edward Fisher June 3, 2025
Tackle your remodeling projects without the stress! Learn when to hire a handyman, what to expect, and how to get the best results for your home.
Mold behind a wall
By Edward Fisher June 2, 2025
Worried about mold behind your drywall? Learn how to detect hidden mold and remove it safely with this step-by-step guide to protect your home and your health!
Cracked wall
By Edward Fisher May 29, 2025
Noticing drywall bulging or bubbling? Discover the common causes and learn quick, effective solutions to fix the problem and protect your home’s structure.
Dry wall cracks
By Edward Fisher May 28, 2025
Tired of drywall cracks that keep coming back? Learn the real reasons behind recurring cracks and how to fix them for good with proven, long-lasting solutions.
Man repairing a wall
By Edward Fisher May 27, 2025
Drywall corner bead repair is a common yet often frustrating task for homeowners. Over time, corners can chip, crack, or become damaged due to everyday wear and tear or accidental impacts. These unsightly imperfections not only detract from a room’s aesthetics but can also lead to more significant issues if left unaddressed. Understanding the importance of maintaining these corners is crucial for preserving the integrity of drywall installations. Homeowners often find themselves searching for effective solutions to restore their walls to pristine condition. Whether it's a minor repair or a more extensive restoration, knowing how to tackle drywall corner bead repair can save time and money while ensuring a polished finish that enhances the overall look of a home. Overview of Drywall Corner Bead Repair Drywall corner bead repair addresses common damage to corners, essential for maintaining property aesthetics and structural integrity. Proper repair techniques restore functionality and extend the lifespan of drywall installations . Importance of Corner Bead Corner beads provide reinforcement and protection at drywall corners. They help prevent chipping, cracking, and damage from impacts, ensuring durability. Maintaining intact corner beads enhances the visual appeal of walls and contributes to a polished finish. Properly installed and maintained corner beads also comply with building codes, promoting long-term structural integrity. Common Issues with Corner Beads Corner beads often face several issues, including dents, cracks, and peeling paint. Dents occur due to accidental impacts with furniture or equipment, while cracks can develop from settling or temperature fluctuations. Peeling paint typically results from moisture exposure or improper application. Identifying and addressing these common issues promptly prevents further damage, ensuring the longevity of drywall corners. Tools and Materials Needed For drywall corner bead repair, specific tools and materials facilitate efficient and effective restoration. Utilizing the correct items ensures a smooth repair process. Essential Tools Utility Knife : Cuts drywall or corner bead accurately. Taping Knife : Spreads joint compound smoothly over the repair. Putty Knife : Fills small gaps and applies joint compound to tight spaces. Drywall Saw : Allows for cutting drywall to fit around corner areas easily. Measuring Tape : Ensures precise measurements for accurate cuts. Screw Gun : Secures corner bead to the drywall effectively. Recommended Materials Corner Bead : Provides structural support and protects corners from damage. Joint Compound : Fills gaps and creates a seamless finish on the repairs. Drywall Tape : Reinforces joints and binds the materials together securely. Primer : Prepares the surface for paint, ensuring smooth coverage. Paint : Matches the wall color after repairs, restoring the aesthetic. Using these tools and materials guarantees effective drywall corner bead repair, enhancing the integrity and appearance of the home. Step-by-Step Repair Process
Man crouching on the floor with paint
By Edward Fisher May 27, 2025
Learn how to fix drywall holes quickly and easily with this step-by-step guide. Restore your walls and improve your home’s appearance in no time.
By Edward Fisher May 24, 2025
Water damage can wreak havoc on a home, especially when it comes to drywall. Homeowners often face the frustrating challenge of identifying the source of the leak, dealing with mold growth, and figuring out the best way to repair the damage. With drywall being a key component of interior aesthetics and insulation, addressing these issues promptly is crucial to maintain both safety and comfort within the home. Fixing water-damaged drywall isn't just about patching up holes; it involves understanding the underlying issues that caused the damage in the first place. From leaks in plumbing to roof problems, homeowners need a comprehensive approach to ensure lasting solutions. Fortunately, with the right knowledge and tools, it's possible to restore your walls and protect your home from future damage. Overview of Water Damaged Drywall Water-damaged drywall often manifests as discoloration, sagging, or peeling paint. Identifying the source of water intrusion is crucial, as unresolved leaks can lead to further damage and mold growth. Common sources of water damage include plumbing leaks, roof leaks, or flooding. Addressing these issues promptly prevents extensive repairs and enhances safety. Repairing water-damaged drywall involves several steps. First, assess the extent of the damage. Minor issues may require patching and repainting, while severe damage necessitates replacing entire panels. Next, dry out the affected area using fans or dehumidifiers to mitigate mold growth. After ensuring the area is dry, cut out the damaged sections using a utility knife. Install new drywall according to local building codes. Secure it properly to the studs, ensuring a level surface. Apply joint compound and tape to seams for a seamless finish. Sand the surface once dry, and paint to match the existing wall. Implementing preventive measures is essential to avoid future water damage. Regular inspections of plumbing and roofing systems catch issues before they escalate. Homeowners should also consider installing moisture detection systems to alert them of potential leaks. For effective remediation, consulting professionals experienced in fixing water-damaged drywall is advisable. Their expertise ensures compliance with regulations and enhances the durability of repairs. Causes of Water Damage
Man holding a book in the middle of a room
By Edward Fisher May 22, 2025
Preparing your home for handyman construction work can feel overwhelming. Homeowners often face frustrations like unclear timelines, unexpected costs, and the disruption of daily routines. Whether it's a small repair or a major renovation, the thought of having workers in your space can add to the stress. However, taking the right steps can make the process smoother and more efficient. By understanding the importance of proper preparation, homeowners can minimize disruptions and ensure that their projects run as smoothly as possible. With expert guidance and practical tips, this article will help you navigate the preparation process, setting the stage for a successful handyman experience. Understanding Handyman Construction Work Handyman construction work encompasses a variety of services designed to assist homeowners in maintaining and improving their properties. These tasks range from minor repairs to significant renovations and ensure the home remains functional and aesthetically pleasing. Types of Handyman Services Handyman services include various specialties aimed at addressing different needs. Common types encompass plumbing repairs, electrical installations, drywall repair, paint jobs, and carpentry work. Homeowners may also require seasonal maintenance tasks, such as gutter cleaning and HVAC servicing. These diverse offerings make handyman services a one-stop solution for many home improvement issues. Importance of Preparation Effective preparation streamlines handyman construction work and minimizes disruptions. Homeowners should compile a list of tasks, gather necessary materials, and clear work areas in advance. Communicating specific requests and expectations to the handyman ensures that the project aligns with the homeowner's vision. This level of organization contributes to smoother execution and better outcomes, ultimately leading to a more satisfying experience. Assessing Your Space
Handyman looking at large paper
By Edward Fisher May 21, 2025
Homeowners often find themselves overwhelmed when faced with repairs, renovations, or maintenance tasks. The decision between hiring a handyman or a contractor can lead to confusion and frustration, especially when considering costs, expertise, and the scope of work involved. Many struggle to understand which option best suits their needs, leading to uncertainty and potential delays in getting projects completed. Accurate Home and Commercial Services aims to alleviate these concerns by providing clear, reliable insights into the cost breakdown of handyman versus contractor services. With over 25 years of experience, their knowledgeable team helps homeowners navigate the complexities of property evaluations and repairs, ensuring a stress-free process. By offering accurate assessments and tailored solutions, they empower homeowners to make informed decisions, ultimately leading to successful home improvement projects. Overview of Home Repair Options Homeowners often face two primary options for repairs: hiring a handyman or contracting a professional . Each option has unique advantages, depending on the scope and complexity of the work involved. Handyman Services Handyman services typically cover minor repairs and maintenance tasks. These tasks may include plumbing fixes, electrical work, carpentry, and painting. Handymen offer flexibility in scheduling and can often complete multiple tasks in a single visit, which can save time. Homeowners looking for quick fixes or general maintenance typically find handymen to be cost-effective and reliable. Contractor Services Contractors excel in managing larger renovation and construction projects. They possess specialized skills and knowledge, making them ideal for significant updates such as room additions, remodels, or extensive repairs. Contractors typically oversee subcontractors and ensure compliance with local building codes. Homeowners requiring extensive renovations or who seek structural alterations typically lean towards hiring licensed contractors. Comparison of Options The choice between handyman and contractor largely depends on the project’s requirements. Handymen supplement the needs of homeowners for minor repairs and routine maintenance. Contractors cater to complex projects requiring detailed planning and labor-intensive skills. Evaluating the level of expertise required, timeline, and overall budget assists homeowners in making informed decisions. When considering options for home repairs or renovations, weighing the specific needs of the project facilitates choosing the best service route. Ultimately, aligning the complexity of the repairs with the appropriate service sets the groundwork for successful home improvements.  Cost Comparison Between a Handyman and Contractor