Benefits of Home Inspection Before an Appraisal

Edward Fisher • December 17, 2024
  • Home Inspection: Focuses on physical condition, identifying repairs needed.
  • Appraisal: Assesses market value to ensure property is worth loan amount.


  • Benefits of inspection before appraisal:
  • Spot repairs
  • Boost negotiating power
  • Increase appeal
  • Reduce unexpected costs
  • Fixing issues enhances appraised value and buyer confidence.
  • Preparation steps:
  1. Fix visible repairs
  2. Ensure home accessibility
  3. Improve curb appeal
  4. Gather documentation
  5. Schedule evaluations wisely.
  • Inspection reports are valuable for negotiating better terms, like price cuts and repair agreements.
  • Real-life examples show pre-appraisal inspections save money and enhance property value.


Before you dive into the appraisal process, have you considered the advantages of a home inspection? Conducting a thorough inspection beforehand can unveil potential repair needs that may affect property values and negotiation dynamics. Read on to discover the compelling benefits of conducting a home inspection before an appraisal.


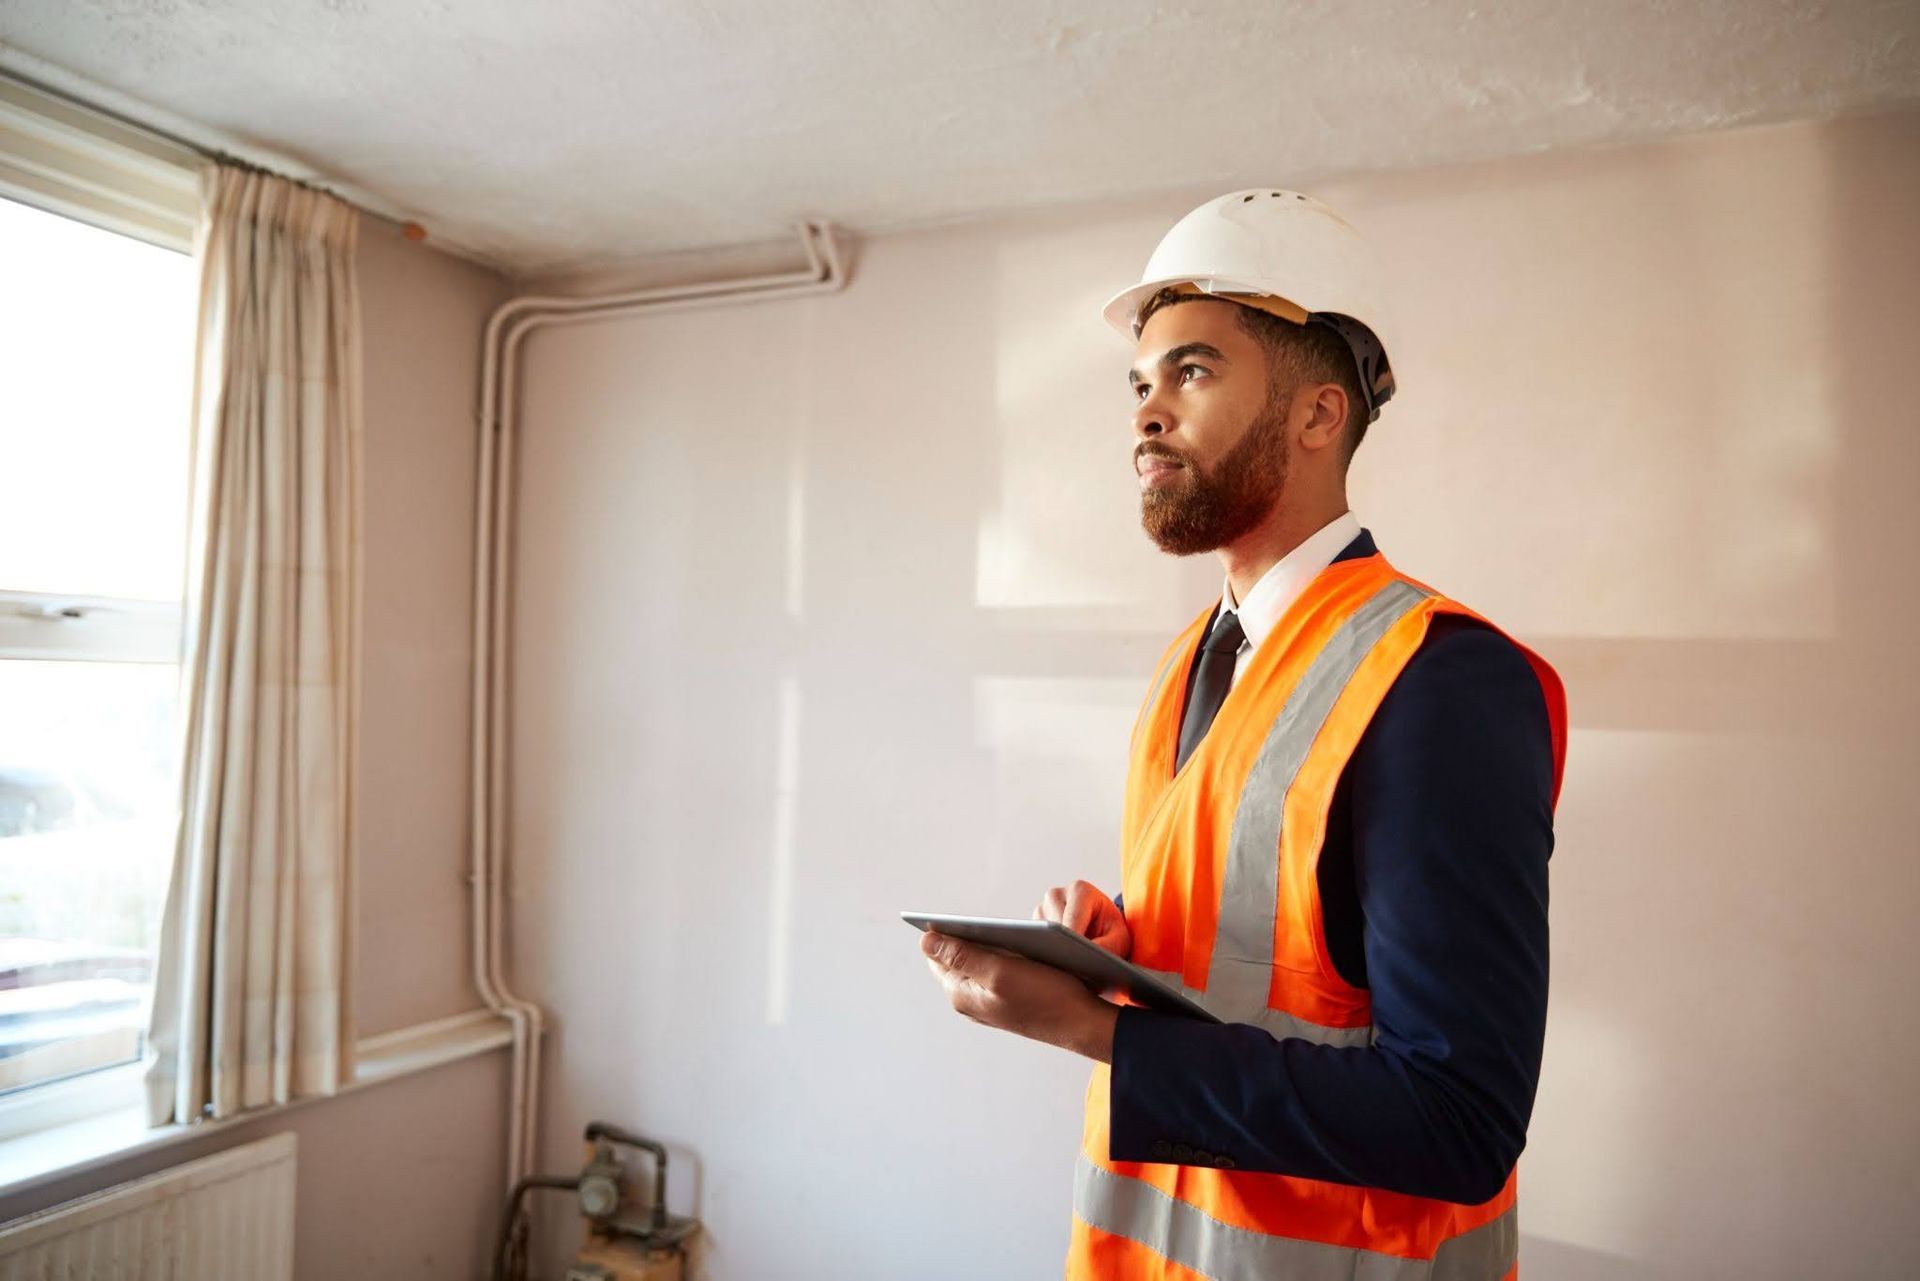
Understanding the Distinction: Home Inspection vs. Appraisal


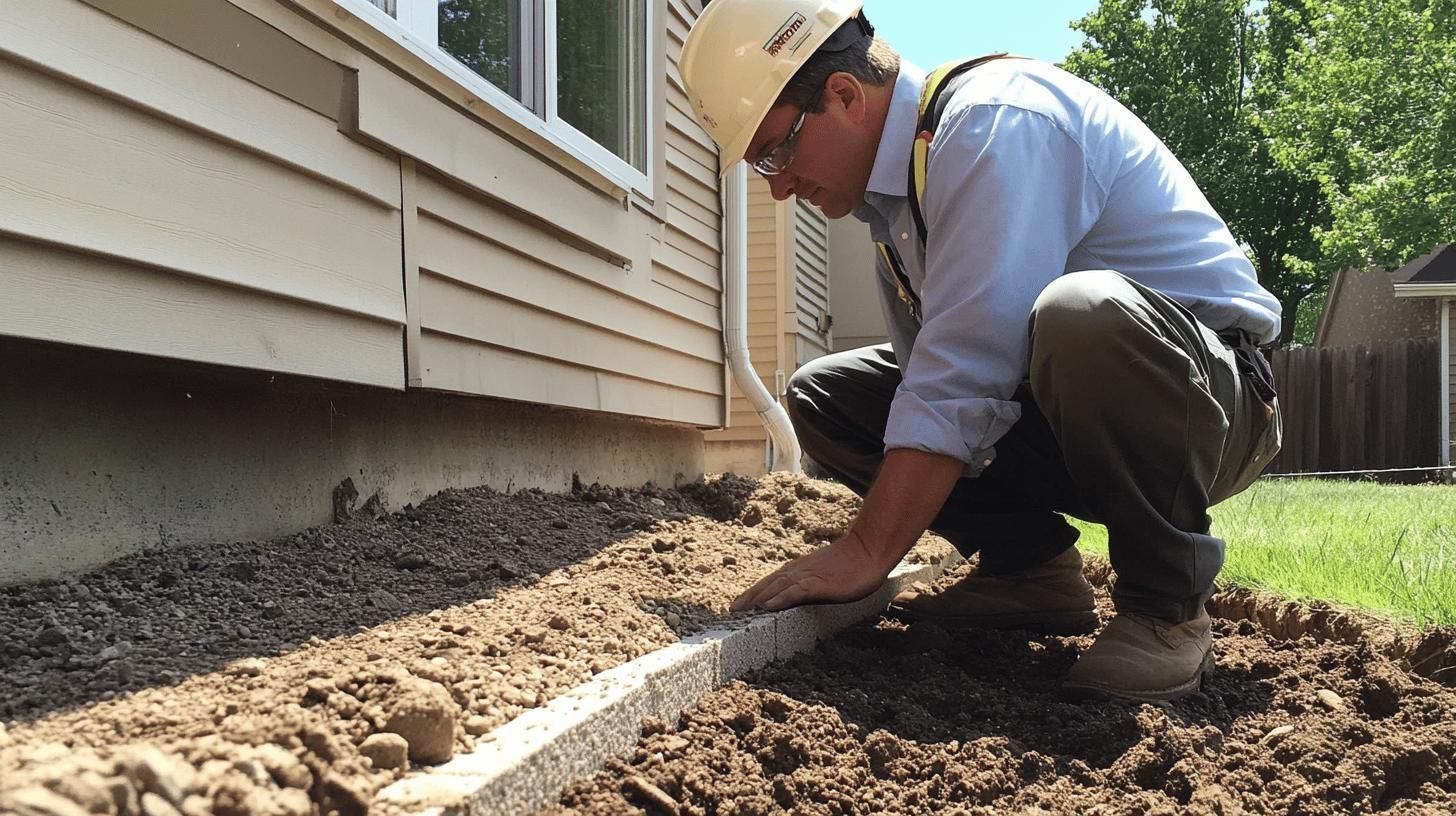
Home inspections and appraisals are essential in real estate, each focusing on different aspects. A home inspection looks at the physical condition of a property. It identifies repairs and maintenance needs. Buyers often request this to check the property's state, including its structure, electrical systems, and plumbing.


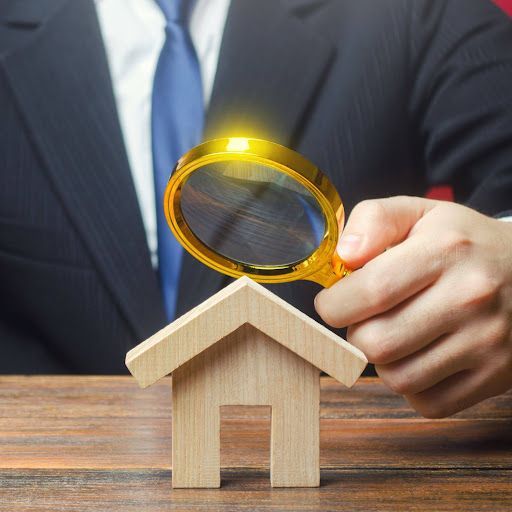
An appraisal assesses a home's market value. It focuses on nearby home values, location, and market trends. Lenders typically order appraisals to make sure a home is worth enough to serve as loan collateral.


These processes impact real estate deals in unique ways. Home inspections give buyers insight into possible issues, helping them negotiate repairs or price changes. Inspections reveal safety problems or code violations that might not appear in appraisals.


Meanwhile, appraisals assure lenders the property’s value matches the loan amount. They examine market and property conditions to set the fair market value, crucial for securing financing.


Understanding these differences helps buyers and sellers manage transactions better, ensuring all property aspects are properly evaluated.


Key Benefits of Conducting a Home Inspection Before Appraisal


Doing a home inspection before an appraisal can greatly affect the appraisal. This helps identify and solve issues that might lower the home's value. Fixing these issues early means the home is in top shape for the appraiser. This approach removes potential red flags that could reduce appraised value, and makes the property more appealing to lenders.


Addressing problems before appraisal also prevents loan approval issues, as lenders may need certain conditions fixed before granting loans. Here are the benefits:


  • Spotting necessary repairs.
  • Boosting negotiating power.
  • Increasing property appeal.
  • Cutting unexpected costs.


How Home Inspections Influence Appraisal Outcomes


Fixing issues found in a home inspection can raise the property’s appraised value. Repairing structural problems or updating systems enhances marketability. This stops appraisers from noting red flags, like safety concerns, that could complicate loans. Solving these issues can smooth financing and possibly raise valuations.


Here are effects of unaddressed issues on appraisal:


  • Lower appraised value.
  • Loan approval problems.
  • Lower buyer confidence.


By fixing inspection-identified issues, homeowners boost the property’s perceived value. Repairs enhance the property's appeal and safety, fostering buyer trust and stronger negotiation positions. 


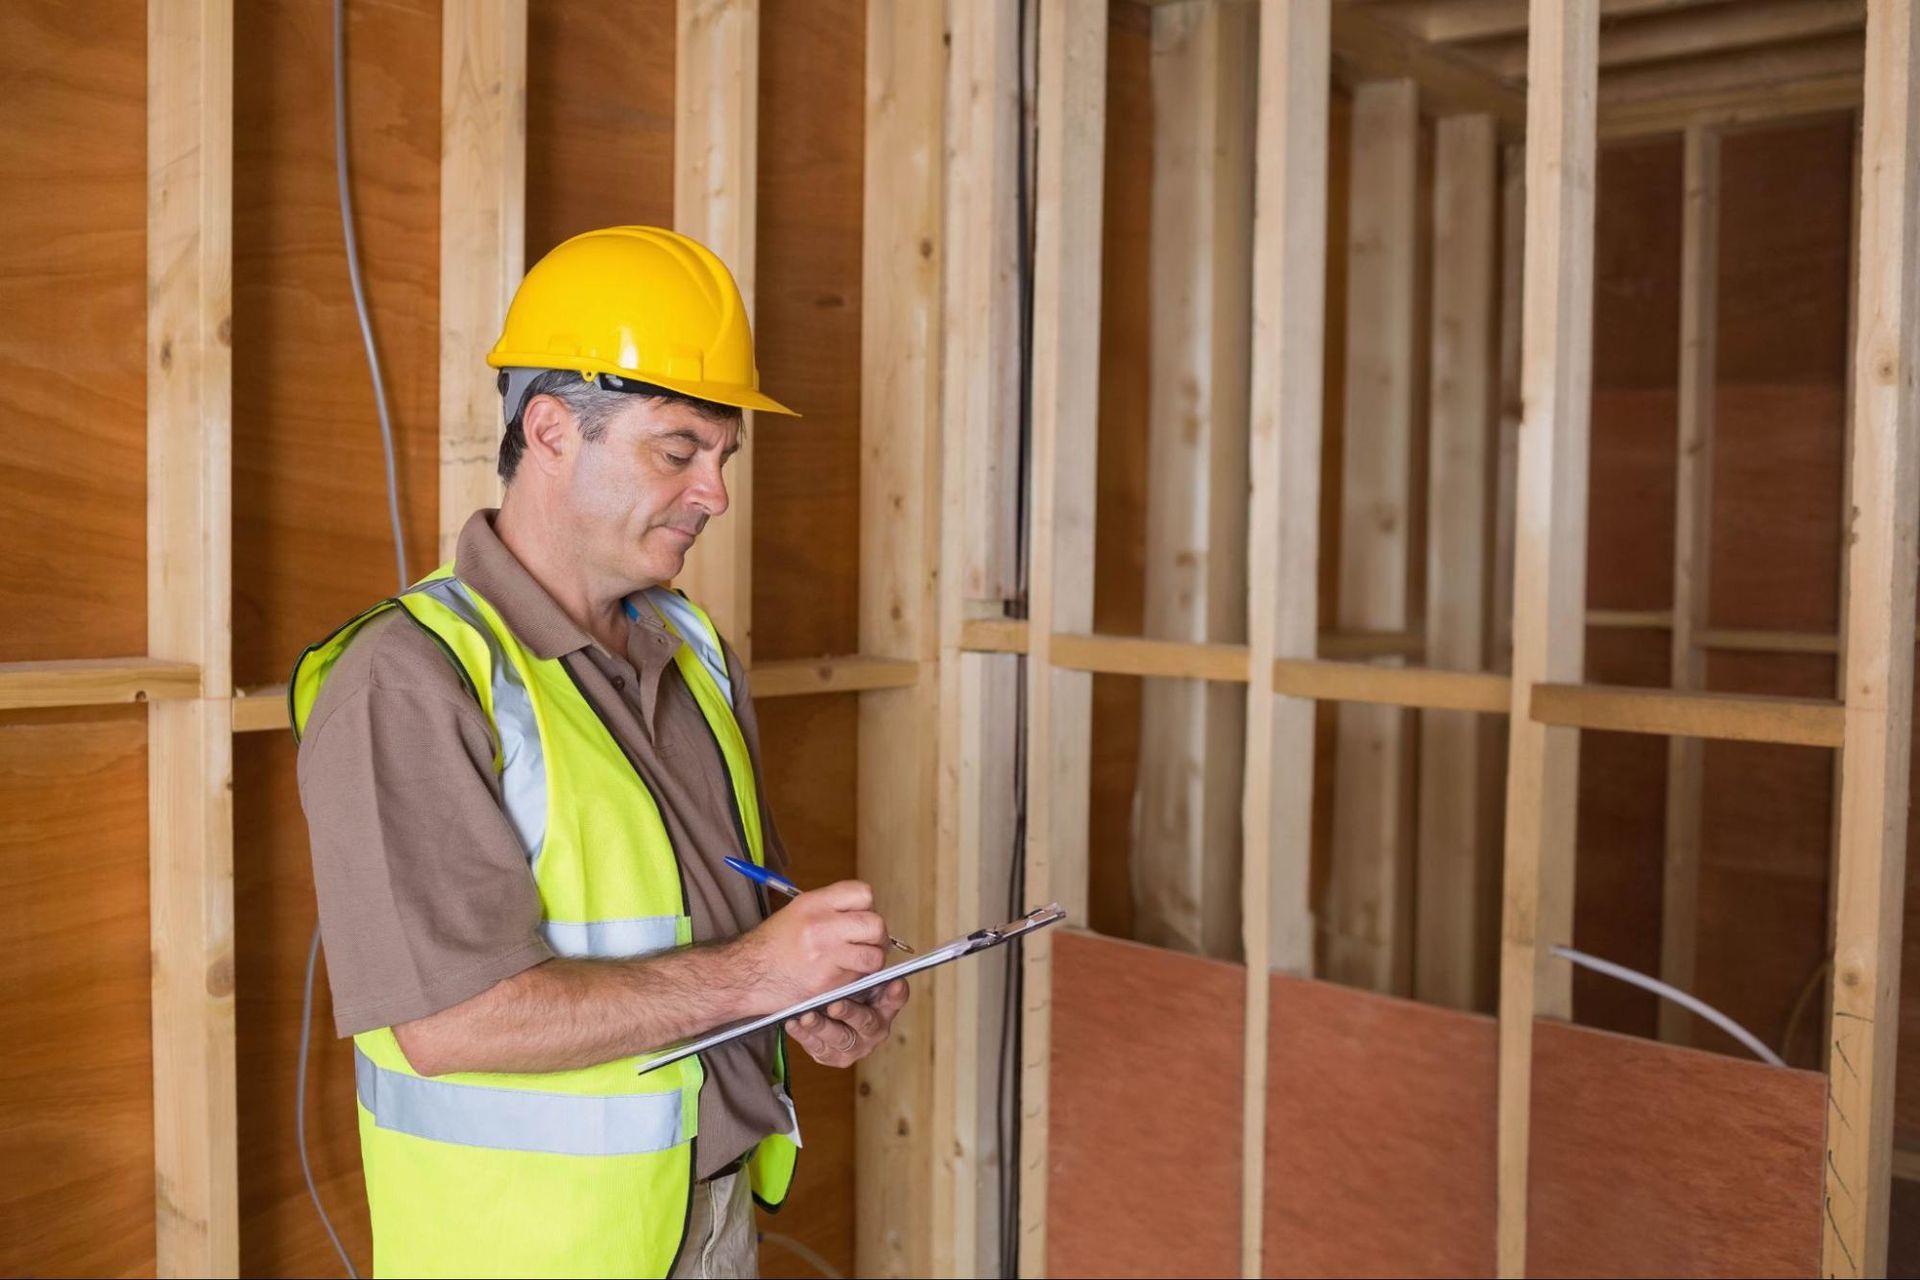
Practical Steps for Homeowners: Preparing for Inspections and Appraisals


Getting ready for inspections and appraisals ensures the property looks its best, leading to better reports and appraised values. By addressing potential issues early, homeowners protect the property’s valuation and appeal.

Steps to prepare for inspection and appraisal:


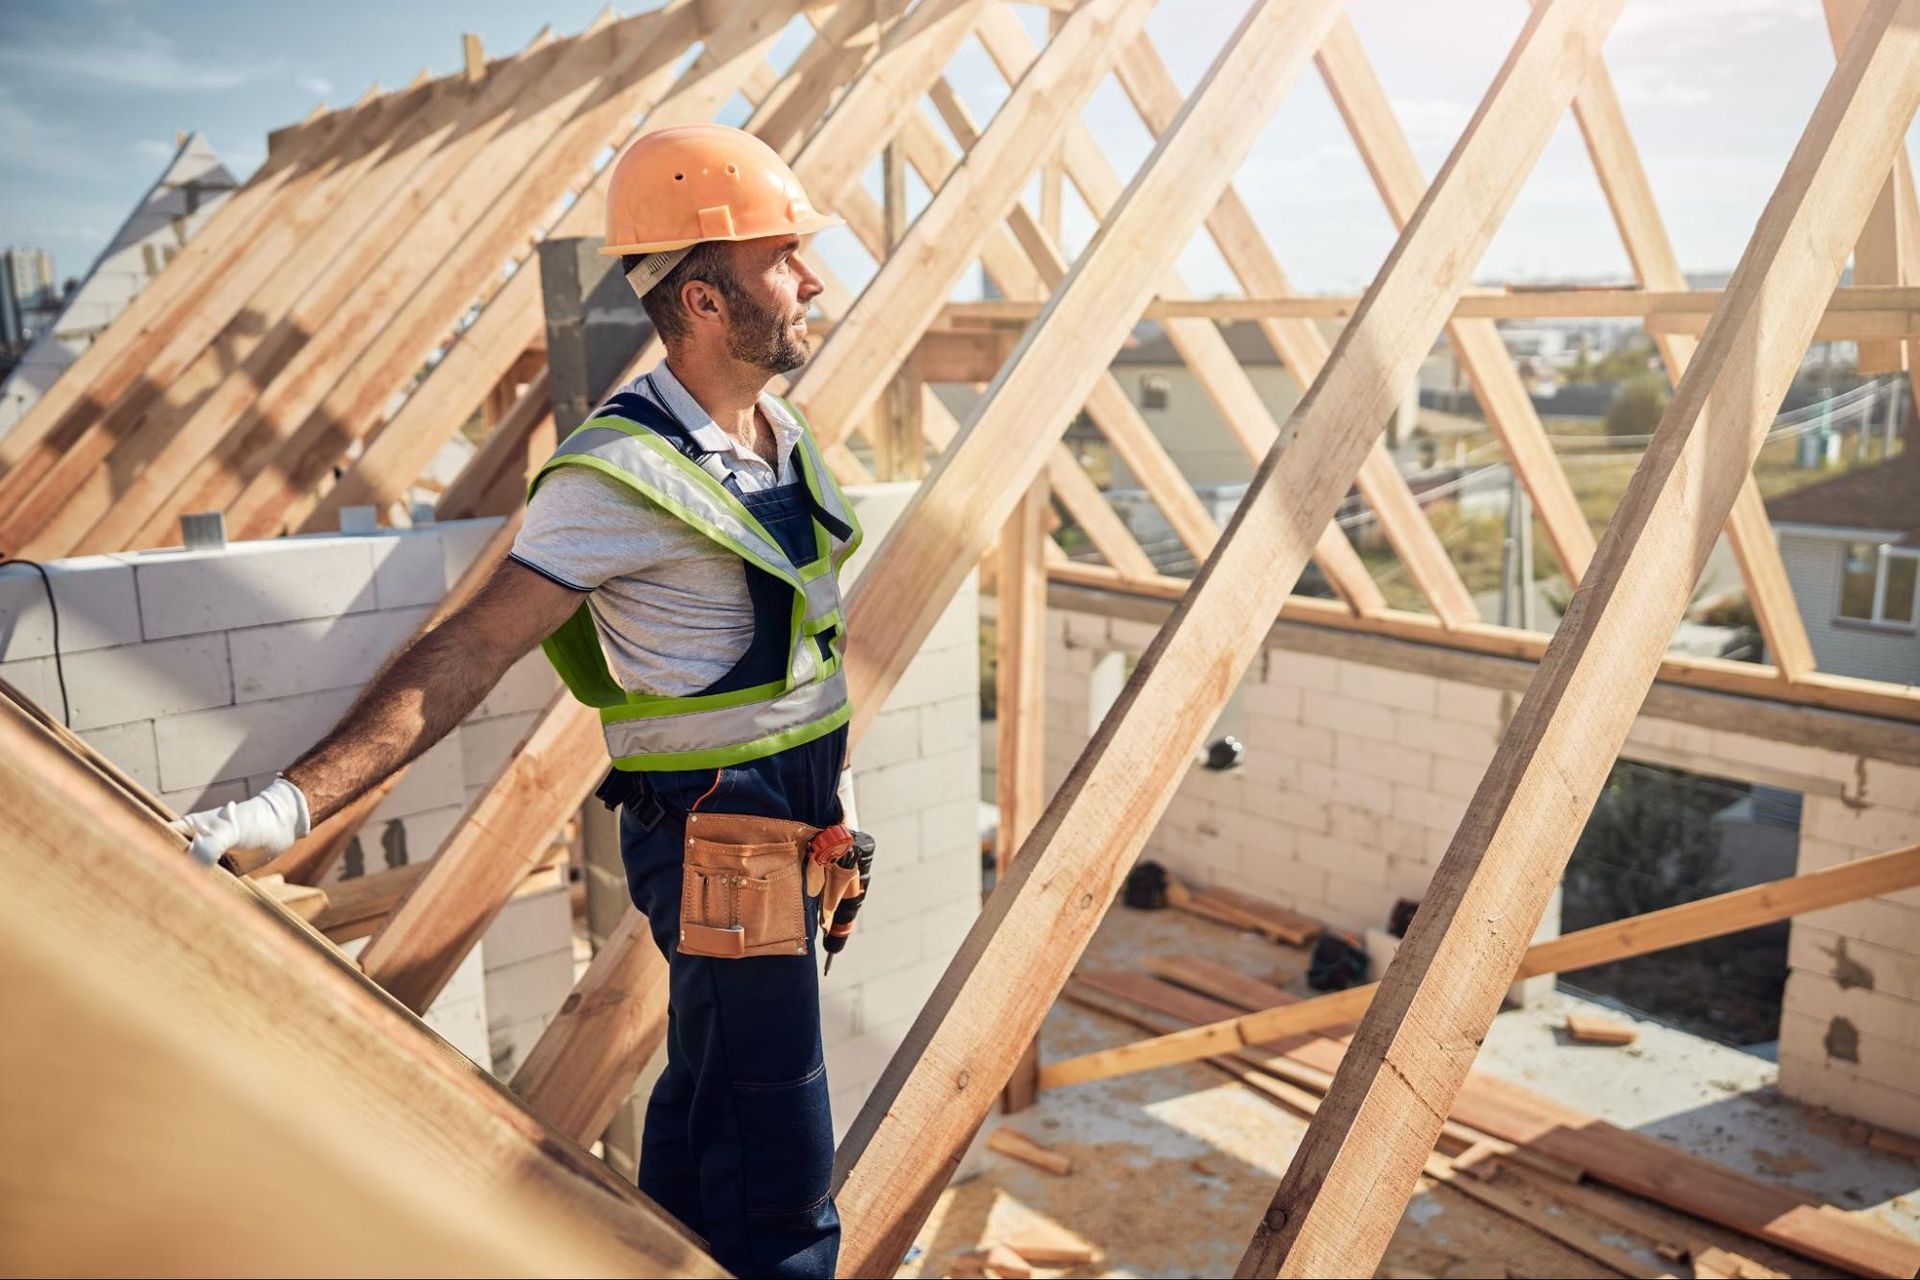
  1. Fix visible repairs: Handle obvious issues like leaks, cracked windows, or damaged roofs. Prevent these from affecting the inspection or appraisal.
  2. Ensure home accessibility: Clean paths to attics, basements, and crawl spaces. Inspectors and appraisers need access to all areas.
  3. Improve curb appeal: A clean exterior affects first impressions. Trim lawns, clear debris, and consider fresh paint.
  4. Gather documentation: Collect permits, warranties, and maintenance records. These are helpful during appraisals.
  5. Schedule evaluations wisely: Leave enough time between inspection and appraisal to fix issues found.


Following these steps can lead to positive inspection and appraisal results, reduce negative findings, and strengthen the property's marketability.


Leveraging Inspection Findings for Better Negotiation in Real Estate


Inspection reports are valuable negotiation tools. They detail a property's condition, highlighting repairs or safety concerns. Buyers use this data to negotiate better terms, ensuring informed investment decisions.


Three negotiation strategies using inspection data:


  • Request seller concessions or price cuts: Use reports to ask for financial concessions or price reductions based on issues.
  • Negotiate repair agreements: Agree with sellers on repairs pre-closing, avoiding purchase price effects.
  • Adjust offers based on findings: Significant issues can lead to offering adjustments reflecting true value post-repairs.


Final Words


Effective preparation involves understanding each process and addressing any identified issues proactively. Conducting a home inspection before an appraisal helps in detecting potential problems early, enhancing negotiating power and increasing property value. 


By strategically preparing and leveraging inspection data, the benefits of having a home inspection before an appraisal lead to more successful real estate transactions and informed decision-making for buyers and sellers.


FAQ


Who pays for inspection and appraisal?


The buyer typically pays for both the home inspection and appraisal during a real estate transaction, ensuring the property's condition and value are accurately assessed.


Does a home inspection affect the appraisal?


Yes, a home inspection can reveal issues that impact the appraisal, as unresolved problems may lower the property's appraised value or complicate loan approval.


What is an appraisal inspection checklist?


An appraisal inspection checklist includes assessing the property's size, condition, and market comparables to determine its market value for a lender's security.


Should appraisal or inspection be done first?


It's generally advisable to conduct a home inspection first, so any significant issues identified can be resolved before the property is appraised.


What happens after a home inspection and appraisal?


After a home inspection and appraisal, buyers and sellers may negotiate repairs or price adjustments based on the findings before finalizing the sale.

Woman holding paper on a kitchen counter
By Edward Fisher June 4, 2025
Planning a small remodeling project? Discover essential tips to make it stress-free and successful, from budgeting to design and project timelines.
Man handling a hand drill
By Edward Fisher June 3, 2025
Tackle your remodeling projects without the stress! Learn when to hire a handyman, what to expect, and how to get the best results for your home.
Mold behind a wall
By Edward Fisher June 2, 2025
Worried about mold behind your drywall? Learn how to detect hidden mold and remove it safely with this step-by-step guide to protect your home and your health!
Cracked wall
By Edward Fisher May 29, 2025
Noticing drywall bulging or bubbling? Discover the common causes and learn quick, effective solutions to fix the problem and protect your home’s structure.
Dry wall cracks
By Edward Fisher May 28, 2025
Tired of drywall cracks that keep coming back? Learn the real reasons behind recurring cracks and how to fix them for good with proven, long-lasting solutions.
Man repairing a wall
By Edward Fisher May 27, 2025
Drywall corner bead repair is a common yet often frustrating task for homeowners. Over time, corners can chip, crack, or become damaged due to everyday wear and tear or accidental impacts. These unsightly imperfections not only detract from a room’s aesthetics but can also lead to more significant issues if left unaddressed. Understanding the importance of maintaining these corners is crucial for preserving the integrity of drywall installations. Homeowners often find themselves searching for effective solutions to restore their walls to pristine condition. Whether it's a minor repair or a more extensive restoration, knowing how to tackle drywall corner bead repair can save time and money while ensuring a polished finish that enhances the overall look of a home. Overview of Drywall Corner Bead Repair Drywall corner bead repair addresses common damage to corners, essential for maintaining property aesthetics and structural integrity. Proper repair techniques restore functionality and extend the lifespan of drywall installations . Importance of Corner Bead Corner beads provide reinforcement and protection at drywall corners. They help prevent chipping, cracking, and damage from impacts, ensuring durability. Maintaining intact corner beads enhances the visual appeal of walls and contributes to a polished finish. Properly installed and maintained corner beads also comply with building codes, promoting long-term structural integrity. Common Issues with Corner Beads Corner beads often face several issues, including dents, cracks, and peeling paint. Dents occur due to accidental impacts with furniture or equipment, while cracks can develop from settling or temperature fluctuations. Peeling paint typically results from moisture exposure or improper application. Identifying and addressing these common issues promptly prevents further damage, ensuring the longevity of drywall corners. Tools and Materials Needed For drywall corner bead repair, specific tools and materials facilitate efficient and effective restoration. Utilizing the correct items ensures a smooth repair process. Essential Tools Utility Knife : Cuts drywall or corner bead accurately. Taping Knife : Spreads joint compound smoothly over the repair. Putty Knife : Fills small gaps and applies joint compound to tight spaces. Drywall Saw : Allows for cutting drywall to fit around corner areas easily. Measuring Tape : Ensures precise measurements for accurate cuts. Screw Gun : Secures corner bead to the drywall effectively. Recommended Materials Corner Bead : Provides structural support and protects corners from damage. Joint Compound : Fills gaps and creates a seamless finish on the repairs. Drywall Tape : Reinforces joints and binds the materials together securely. Primer : Prepares the surface for paint, ensuring smooth coverage. Paint : Matches the wall color after repairs, restoring the aesthetic. Using these tools and materials guarantees effective drywall corner bead repair, enhancing the integrity and appearance of the home. Step-by-Step Repair Process
Man crouching on the floor with paint
By Edward Fisher May 27, 2025
Learn how to fix drywall holes quickly and easily with this step-by-step guide. Restore your walls and improve your home’s appearance in no time.
By Edward Fisher May 24, 2025
Water damage can wreak havoc on a home, especially when it comes to drywall. Homeowners often face the frustrating challenge of identifying the source of the leak, dealing with mold growth, and figuring out the best way to repair the damage. With drywall being a key component of interior aesthetics and insulation, addressing these issues promptly is crucial to maintain both safety and comfort within the home. Fixing water-damaged drywall isn't just about patching up holes; it involves understanding the underlying issues that caused the damage in the first place. From leaks in plumbing to roof problems, homeowners need a comprehensive approach to ensure lasting solutions. Fortunately, with the right knowledge and tools, it's possible to restore your walls and protect your home from future damage. Overview of Water Damaged Drywall Water-damaged drywall often manifests as discoloration, sagging, or peeling paint. Identifying the source of water intrusion is crucial, as unresolved leaks can lead to further damage and mold growth. Common sources of water damage include plumbing leaks, roof leaks, or flooding. Addressing these issues promptly prevents extensive repairs and enhances safety. Repairing water-damaged drywall involves several steps. First, assess the extent of the damage. Minor issues may require patching and repainting, while severe damage necessitates replacing entire panels. Next, dry out the affected area using fans or dehumidifiers to mitigate mold growth. After ensuring the area is dry, cut out the damaged sections using a utility knife. Install new drywall according to local building codes. Secure it properly to the studs, ensuring a level surface. Apply joint compound and tape to seams for a seamless finish. Sand the surface once dry, and paint to match the existing wall. Implementing preventive measures is essential to avoid future water damage. Regular inspections of plumbing and roofing systems catch issues before they escalate. Homeowners should also consider installing moisture detection systems to alert them of potential leaks. For effective remediation, consulting professionals experienced in fixing water-damaged drywall is advisable. Their expertise ensures compliance with regulations and enhances the durability of repairs. Causes of Water Damage
Man holding a book in the middle of a room
By Edward Fisher May 22, 2025
Preparing your home for handyman construction work can feel overwhelming. Homeowners often face frustrations like unclear timelines, unexpected costs, and the disruption of daily routines. Whether it's a small repair or a major renovation, the thought of having workers in your space can add to the stress. However, taking the right steps can make the process smoother and more efficient. By understanding the importance of proper preparation, homeowners can minimize disruptions and ensure that their projects run as smoothly as possible. With expert guidance and practical tips, this article will help you navigate the preparation process, setting the stage for a successful handyman experience. Understanding Handyman Construction Work Handyman construction work encompasses a variety of services designed to assist homeowners in maintaining and improving their properties. These tasks range from minor repairs to significant renovations and ensure the home remains functional and aesthetically pleasing. Types of Handyman Services Handyman services include various specialties aimed at addressing different needs. Common types encompass plumbing repairs, electrical installations, drywall repair, paint jobs, and carpentry work. Homeowners may also require seasonal maintenance tasks, such as gutter cleaning and HVAC servicing. These diverse offerings make handyman services a one-stop solution for many home improvement issues. Importance of Preparation Effective preparation streamlines handyman construction work and minimizes disruptions. Homeowners should compile a list of tasks, gather necessary materials, and clear work areas in advance. Communicating specific requests and expectations to the handyman ensures that the project aligns with the homeowner's vision. This level of organization contributes to smoother execution and better outcomes, ultimately leading to a more satisfying experience. Assessing Your Space
Handyman looking at large paper
By Edward Fisher May 21, 2025
Homeowners often find themselves overwhelmed when faced with repairs, renovations, or maintenance tasks. The decision between hiring a handyman or a contractor can lead to confusion and frustration, especially when considering costs, expertise, and the scope of work involved. Many struggle to understand which option best suits their needs, leading to uncertainty and potential delays in getting projects completed. Accurate Home and Commercial Services aims to alleviate these concerns by providing clear, reliable insights into the cost breakdown of handyman versus contractor services. With over 25 years of experience, their knowledgeable team helps homeowners navigate the complexities of property evaluations and repairs, ensuring a stress-free process. By offering accurate assessments and tailored solutions, they empower homeowners to make informed decisions, ultimately leading to successful home improvement projects. Overview of Home Repair Options Homeowners often face two primary options for repairs: hiring a handyman or contracting a professional . Each option has unique advantages, depending on the scope and complexity of the work involved. Handyman Services Handyman services typically cover minor repairs and maintenance tasks. These tasks may include plumbing fixes, electrical work, carpentry, and painting. Handymen offer flexibility in scheduling and can often complete multiple tasks in a single visit, which can save time. Homeowners looking for quick fixes or general maintenance typically find handymen to be cost-effective and reliable. Contractor Services Contractors excel in managing larger renovation and construction projects. They possess specialized skills and knowledge, making them ideal for significant updates such as room additions, remodels, or extensive repairs. Contractors typically oversee subcontractors and ensure compliance with local building codes. Homeowners requiring extensive renovations or who seek structural alterations typically lean towards hiring licensed contractors. Comparison of Options The choice between handyman and contractor largely depends on the project’s requirements. Handymen supplement the needs of homeowners for minor repairs and routine maintenance. Contractors cater to complex projects requiring detailed planning and labor-intensive skills. Evaluating the level of expertise required, timeline, and overall budget assists homeowners in making informed decisions. When considering options for home repairs or renovations, weighing the specific needs of the project facilitates choosing the best service route. Ultimately, aligning the complexity of the repairs with the appropriate service sets the groundwork for successful home improvements.  Cost Comparison Between a Handyman and Contractor