Prepare for a Home Inspection With Confidence
- Home inspections are crucial for buyers and sellers, covering structural integrity, plumbing, HVAC, roof, and electrical systems.
- About 77% of buyers prefer move-in ready homes; inspection reports greatly influence buyer perceptions.
- Checklists for inspections should include: structural integrity, plumbing, HVAC, roof, electrical systems, water damage, pests, and functionality of doors/windows.
- Common inspection failures include roof damage, plumbing leaks, and electrical issues; regular maintenance can prevent them.
- Sellers should conduct pre-listing inspections and address repairs to enhance negotiation leverage.
- Buyers should research inspection areas, communicate with inspectors, and review maintenance records to negotiate effectively.
- Sellers have 7-10 days post-inspection to address findings and requests.
Are you worried about hidden issues derailing your home sale or purchase? A home inspection is a critical step in the home purchase process for both homebuyers and sellers. It evaluates key systems and components such as structural integrity, plumbing, HVAC, roof, and electrical systems. Understanding and preparing for an inspection ensures your home is safe, functional, and compliant with industry standards.
With about 77% of home buyers preferring move-in-ready homes, an inspection report can significantly impact perceptions. Common red flags like structural issues, mold inspection, and water damage can be dealbreakers. By addressing concerns in advance, you can enhance your home’s value and make negotiations smoother.
Why Home Inspections Are Essential
Home inspections are vital for both buyers and sellers. They provide a detailed check of a property's condition, from roof to foundation. This ensures safety, health, and mechanical systems are tip-top. The inspection covers structural integrity, plumbing, HVAC, roof, and electrical components. These checks confirm that properties meet state standards and lender requirements. As a result, all parties avoid unforeseen liabilities, keeping homes safe and sound.
Inspections also guide buyers in their decisions. About 77% prefer homes that are move-in ready. Inspection findings significantly influence how buyers view value and desirability. This information guides negotiations and final purchase decisions. Addressing any issues before closing makes transactions smoother, helping buyers feel confident in their investment.
Creating a Home Inspection Checklist

A well-structured home inspection checklist ensures an efficient process. Sellers can proactively check key areas, making the home easier for the inspector to evaluate. Common checklist items include:
- Structural integrity
- Plumbing systems
- HVAC systems
- Roof condition
- Electrical systems
- Termite and mold inspection
- Functionality of windows and doors
- Spots where water damage may be present
Each of these elements contributes to a well-prepared home. Ensuring all components function properly boosts confidence in potential buyers.
Addressing water damage and pest issues early stops further damage. Ensuring doors and windows work well improves security and energy efficiency. By preparing these areas, homeowners can instill buyer confidence and streamline inspections, paving the way for a successful sale.
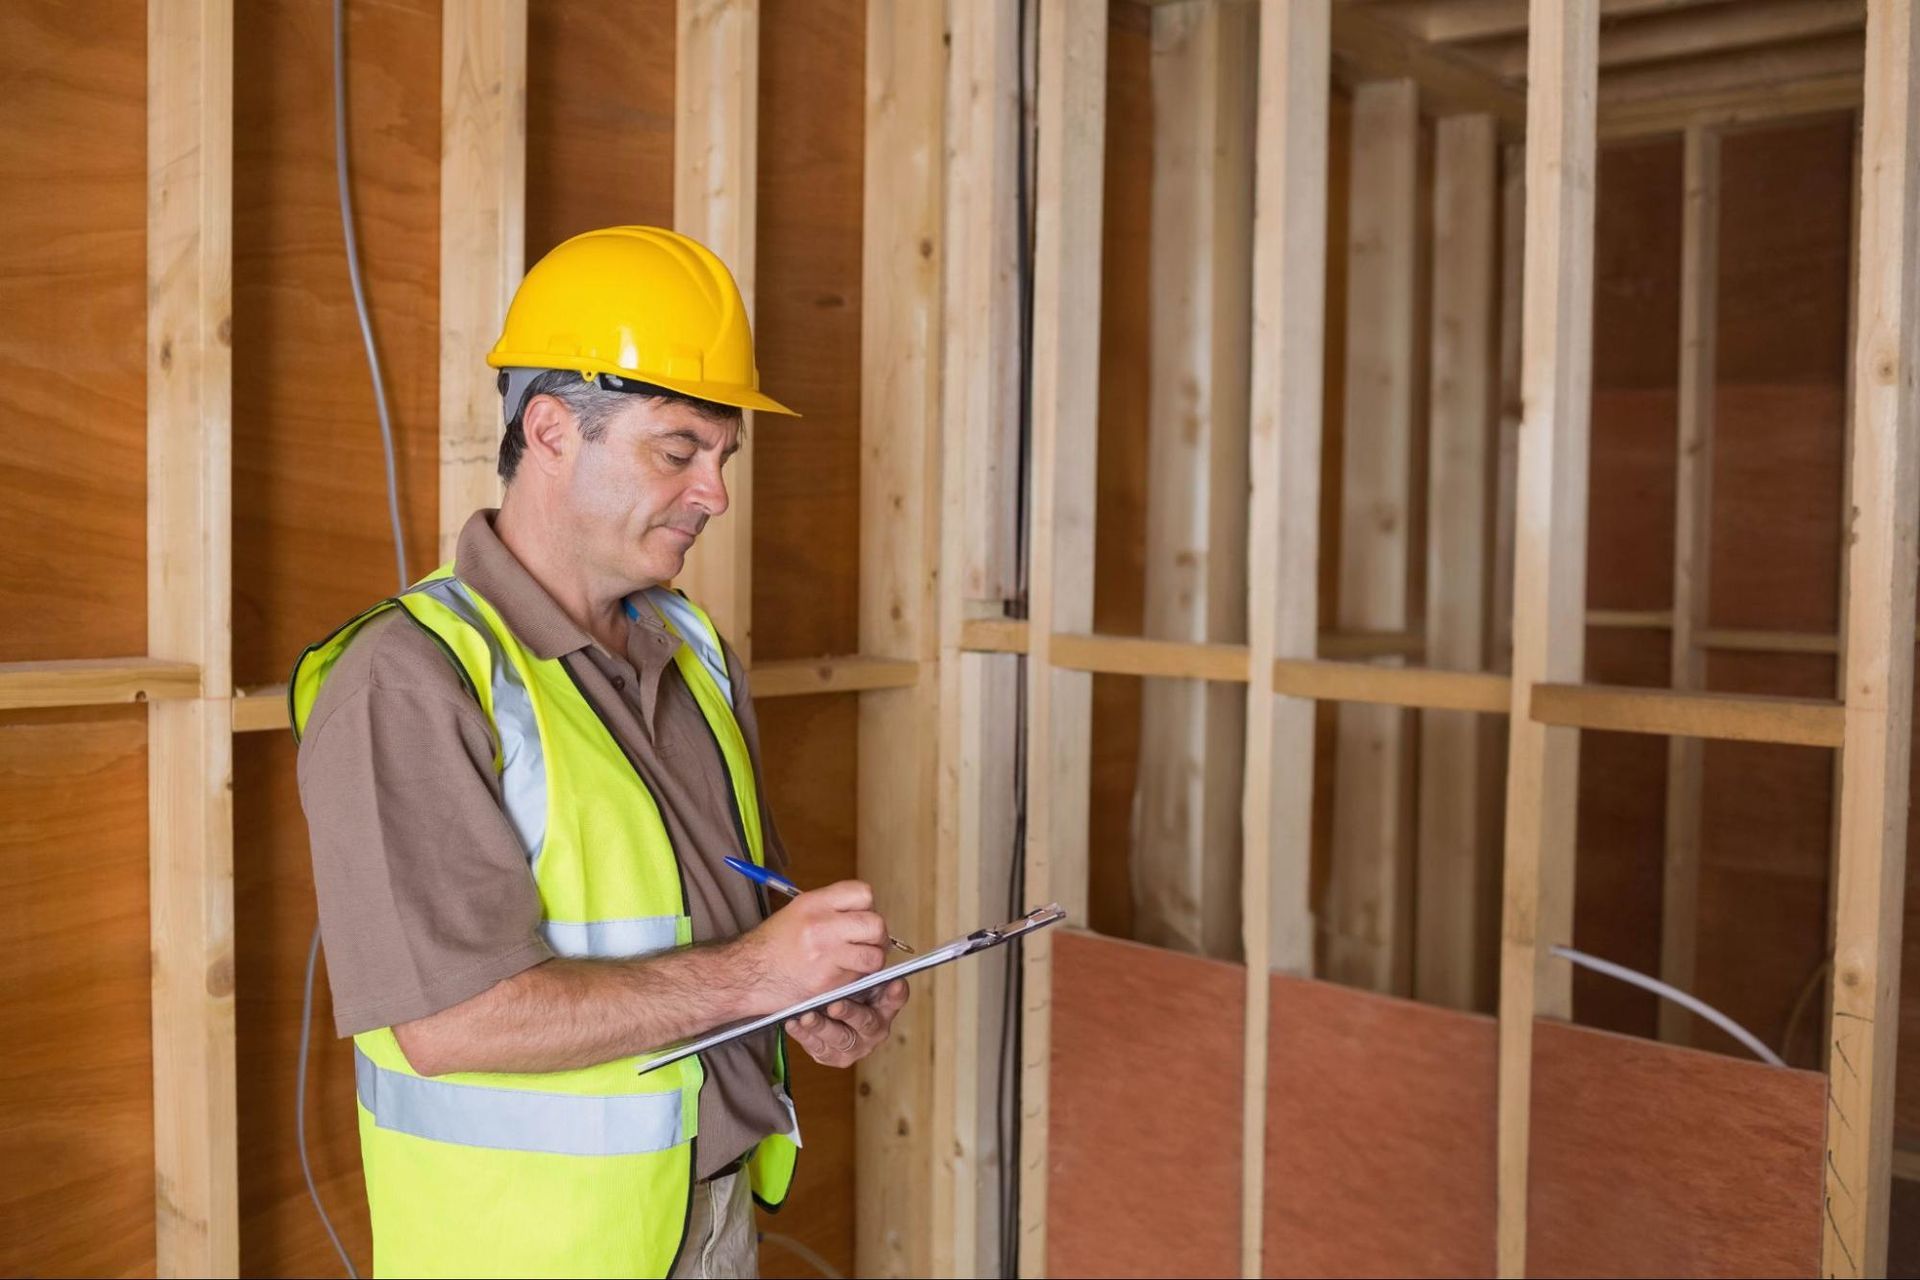
Preparing Your Home for Inspection Day as A Seller
Presentation is crucial when getting ready for a home inspection. A clean and well-maintained home positively influences the inspector's view, leading to smoother processes with fewer negative findings. Ensuring a pristine property facilitates easy access throughout and highlights dedication to maintenance.
1. Cleaning and Decluttering
Start with thorough cleaning and decluttering. Why is this necessary? Clean, organized spaces allow inspectors to access and check all areas, from basements to attics, easily. Remove clutter, tidy rooms, and dust all surfaces. This effort makes areas accessible and showcases good maintenance, affecting inspection outcomes positively.
2. Labeling and Accessibility
Sellers should clearly label fuse boxes, water heaters, and HVAC units. Ensure doors and hatches to crawl spaces are unlocked. An easier-to-inspect home reduces delays and makes a strong impression.
3. Pre-checking Systems and Fixtures
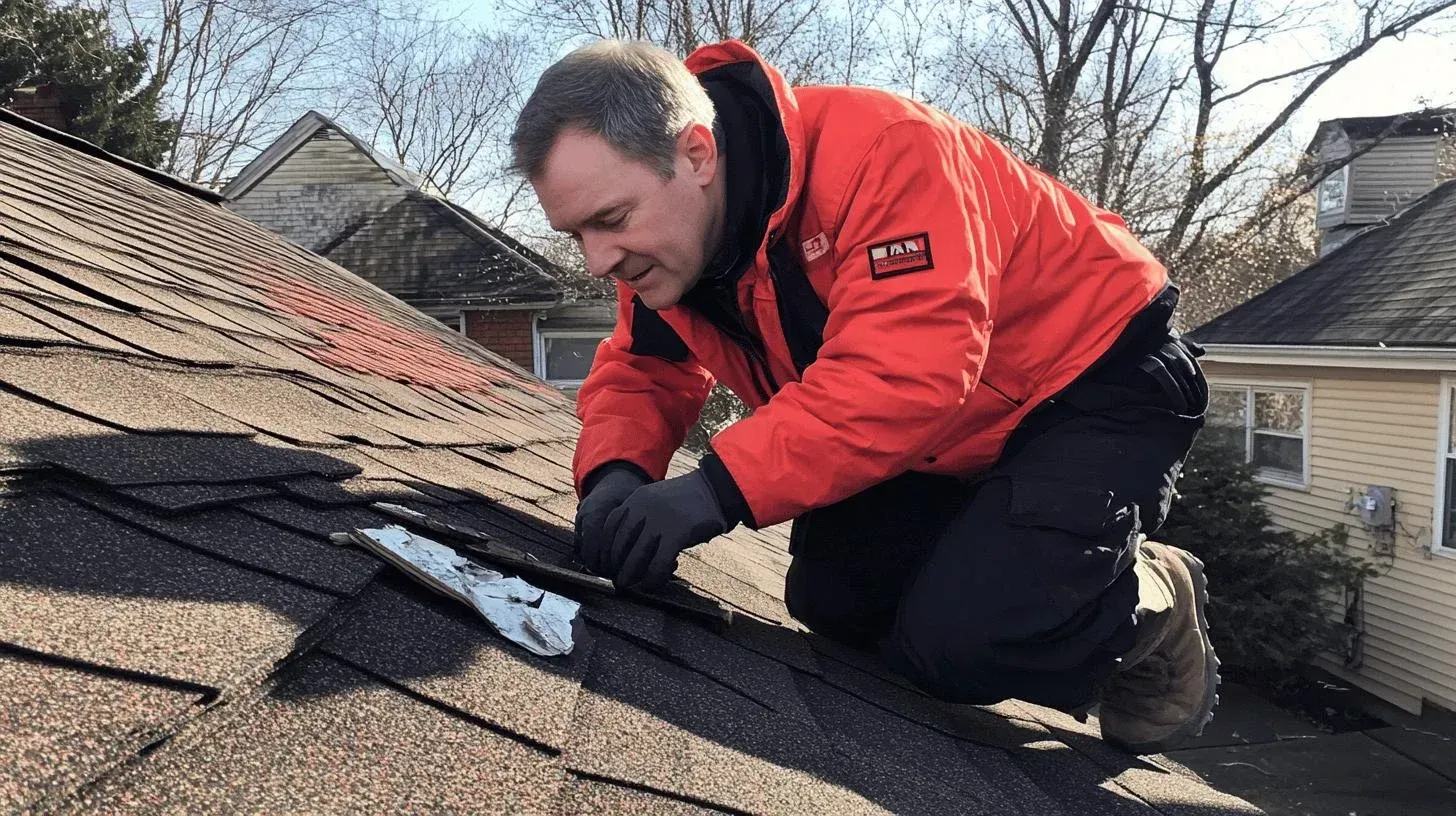
Pre-checking systems and fixtures can curb minor issues from escalating during inspection. Check for roof damage like loose shingles. Replace burnt-out light bulbs and inspect for plumbing leaks. Run water, test outlets, and verify HVAC system operation. This ensures everything is functional, reducing surprise findings.
Thorough preparation can greatly influence inspection outcomes. Cleanliness and openness enhance inspection perception. System labeling and accessibility ensure efficient assessments. Checking components helps prevent surprise elements, paving the way for successful inspections and smooth transactions.
Before the inspection, sellers should:
- Replace light bulbs to avoid false electrical concerns.
- Check for leaky faucets and fix plumbing issues.
- Examine the home’s foundation for cracks.
- Test smoke detectors and electrical outlets.
- Address red flags like old or exposed wiring.
- Ensure your home is free from potential hazards.
- Check the home inspection process requirements.
- Make sure windows and doors function properly.
These small steps contribute to a better understanding of the home and prevent common red flags.
Common Inspection Failures and How to Avoid Them
Inspections often reveal common problems that can delay or derail sales if not addressed early. These include roof damage, leaks, plumbing, electrical issues, and pests. Tackling these before inspections ensures smoother transactions and maintains property value. Understanding and mitigating typical failures is key for sellers and buyers. Homes built before 1980 often face structural issues like foundation cracks or sagging roofs. Regular inspections and repairs help sellers avoid costly surprises.
1. Structural and Roof Issues: Roof damage is common due to weather and age. Loose shingles and structural weaknesses lead to water entry and damage. Regular roof checks and timely repairs can prevent costly surprises and maintain integrity.
2. Plumbing and Water Damage: Plumbing issues like leaks and clogs often flag inspectors. Past water damage, like mold, raises concerns. Regular checks and fixing leaks reduce these risks, preserving the home’s condition. Leaks, spots where water pools, and mold are warning signs. Fixing plumbing issues before an inspection ensures a smooth process.
3. HVAC and Electrical Systems: Inspectors often find outdated electrical panels and HVAC issues like cracked ducts. Regular servicing and updates ensure efficiency and safety, reassuring buyers of quality.
Seller-Specific Preparation Strategies
A pre-listing inspection is strategic for sellers to ensure smooth transactions. By identifying issues beforehand, sellers can handle repairs themselves. This reduces unexpected findings during the buyer’s inspection and strengthens negotiation positions through transparency.
- Conduct a pre-listing inspection
- Address necessary repairs promptly
- Maintain regular upkeep of the property
- Provide repair receipts and documentation
- Ensure home accessibility
These strategies contribute to positive inspection outcomes. Proactive repairs prevent minor issues from escalating, deterring buyers. Consistent upkeep keeps the home impressive and move-in ready. Sharing repair documentation fosters trust, reassuring buyers of diligent maintenance. Making homes accessible helps thorough inspection, showcasing readiness for sale. Through these preparations, sellers create successful inspection and transaction processes.
Preparing for a Home Inspection as a Buyer

Buyers have a critical role in the inspection process, impacting outcomes significantly. What should buyers focus on during inspections? Key aspects include the property's structure, plumbing, and electrical systems. Understanding these areas helps buyers make informed decisions and ask relevant questions during inspections. A proactive stance ensures addressing issues promptly, safeguarding investments.
- Research Common Inspection Areas: Learn about structural, plumbing, and electrical systems to spot potential issues.
- Create a DIY Checklist: Do a preliminary assessment to identify obvious problems.
- Communicate with the Inspector: Be present, discuss concerns, and gain insights.
- Review Past Maintenance Records: Examine history to find recurring issues or recent repairs.
Being well-prepared for inspections offers advantages. Buyers can confidently address concerns and negotiate based on findings. Understanding inspections also streamlines transactions, offering a smoother path to homeownership.
Navigating Post-Inspection Repairs and Negotiations
After an inspection, sellers usually have 7-10 days to respond to repair requests. What's the timeline for addressing findings? Promptly review the report and decide on repairs. This period is crucial to keep the sale moving, avoiding dealbreakers. Consulting a real estate agent can help prioritize essential repairs.
How can sellers negotiate effectively after inspections? Address major issues like structural defects first. Consider buyer requests and see what aligns with your resources. Focus on repairs that prevent sale delays or value drops. Real estate agents can help evaluate repair impacts for informed decisions, aiding favorable negotiations.
Why is transparency important in post-inspection negotiations? Openly sharing findings and repair decisions builds trust. It fosters amicable agreements and aligns both parties on expectations. Keeping communication open prevents misunderstandings and enhances the transaction experience, paving the way for successful home sales.
Final Words
Mastering how to prepare for a home inspection involves understanding its essential nature, creating a comprehensive checklist, and preparing effectively for inspection day. Addressing common failures ahead of time safeguards against negative outcomes, while seller-specific strategies can streamline the process. Buyers benefit from being well-prepared, ensuring they can address key areas of concern.
This proactive approach helps in smooth post-inspection negotiations, ultimately enhancing property value and compliance. By taking these steps, property owners can secure their investments and promote safety and efficiency within their homes.
FAQ
Q: How should a buyer prepare for a home inspection?
A: A buyer should prepare for a home inspection by understanding the process, focusing on structural, plumbing, and electrical issues, and using a DIY checklist to identify potential problems before hiring an inspector.
Q: What should be included in a home inspection checklist?
A: A home inspection checklist should include checking structural integrity, plumbing, HVAC systems, roof condition, and electrical systems. These items help identify and fix potential failures, ensuring a smooth inspection process. And when you use services from licensed and experienced home inspectors like MyAccurateHomeServices, all bases will be covered, providing you with a detailed report.
Q: How can a seller prepare for a home inspection?
A: A seller can prepare for a home inspection by conducting pre-listing inspections, making necessary repairs, and maintaining regular upkeep. Providing repair receipts demonstrates transparency and care to buyers.
Q: What tasks should be completed before inspection day?
A: Before inspection day, homeowners should clean and declutter, label the fuse box, inspect the roof, replace light bulbs, and fix leaks. These tasks improve home condition perception and accessibility during the inspection.
Q: What is likely to fail a home inspection?
A: Common failures in home inspections include roof damage, water leaks, plumbing problems, electrical issues, and pest infestations. Addressing these issues preemptively prevents negative reports and aids in a smooth sale.