Pre-Purchase Home Inspections: Your Buying Advantage

Edward Fisher • November 28, 2024
  • Pre-purchase home inspections are essential to evaluate a property's condition and uncover hidden defects.
  • Inspectors examine structural components, electrical systems, plumbing, and HVAC units.
  • Inspections help inform negotiations, allowing buyers to request repairs or price adjustments.
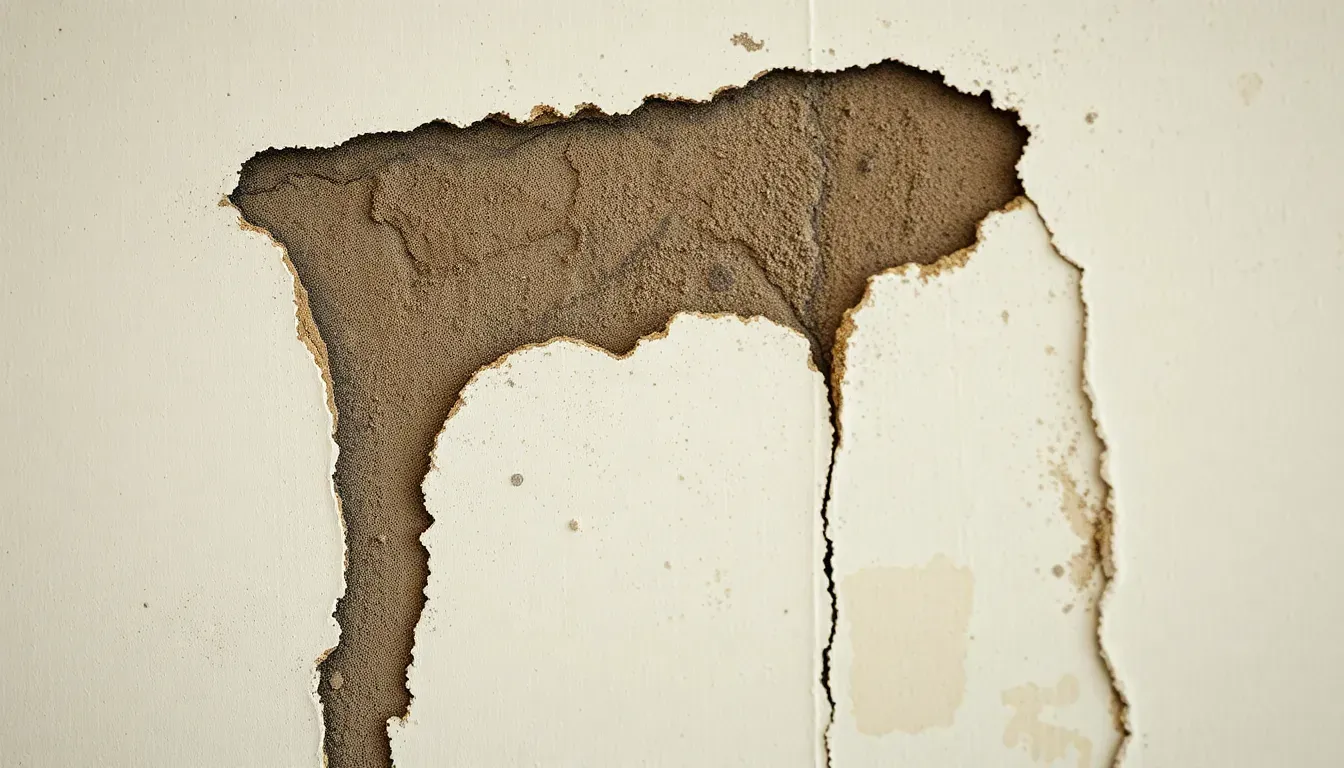
  • Common issues include structural damage, electrical hazards, plumbing leaks, and safety hazards like inadequate detectors or mold.
  • Average costs range from a few hundred to over a thousand dollars, depending on property size and requirements.


Can you spot a potential money pit before you buy? Navigating the complexities of real estate requires more than intuition; it demands informed decision-making anchored by pre-purchase home inspections. These assessments act as both a magnifying glass and a safety net, unveiling potential issues that could cost thousands in repairs.


Understanding these inspections not only equips you with the power to negotiate better terms but also safeguards your investment. By identifying structural, electrical, and mechanical problems before signing, buyers gain a critical edge in the purchasing process.


Understanding Pre-Purchase Home Inspections


A pre-purchase home inspection is crucial for home buyers. It evaluates a property's condition before finalizing a purchase. By identifying issues that could lead to costly repairs, inspections help buyers make informed decisions. Inspectors examine areas like structural components, electrical systems, plumbing, and HVAC units. They uncover hidden defects and potential problems, ensuring that buyers aren't caught off-guard after closing.


This proactive step not only protects the buyer's investment but also brings peace of mind, knowing the property meets necessary standards.


Pre-purchase inspections also play a big role in negotiations. If an inspection finds major defects, buyers can renegotiate the purchase terms. They might ask for repairs, adjust the price, or even back out if the issues are severe. These findings give buyers leverage to ensure the property's true condition is considered in the deal. 


Step-by-Step Guide to the Home Inspection Process


Step-by-Step-Guide-to-the-Home-Inspection-Process.jpg

An organized home inspection process is key to evaluating potential property issues. This guide outlines essential steps for informed decision-making.


1. Finding a Property


Real estate brokers are essential for finding suitable properties. Their market knowledge helps match buyers with options that fit preferences and budgets. Brokers usually work on commission, typically paid by the seller, so buyers can access their services without direct costs. This teamwork streamlines property selection.


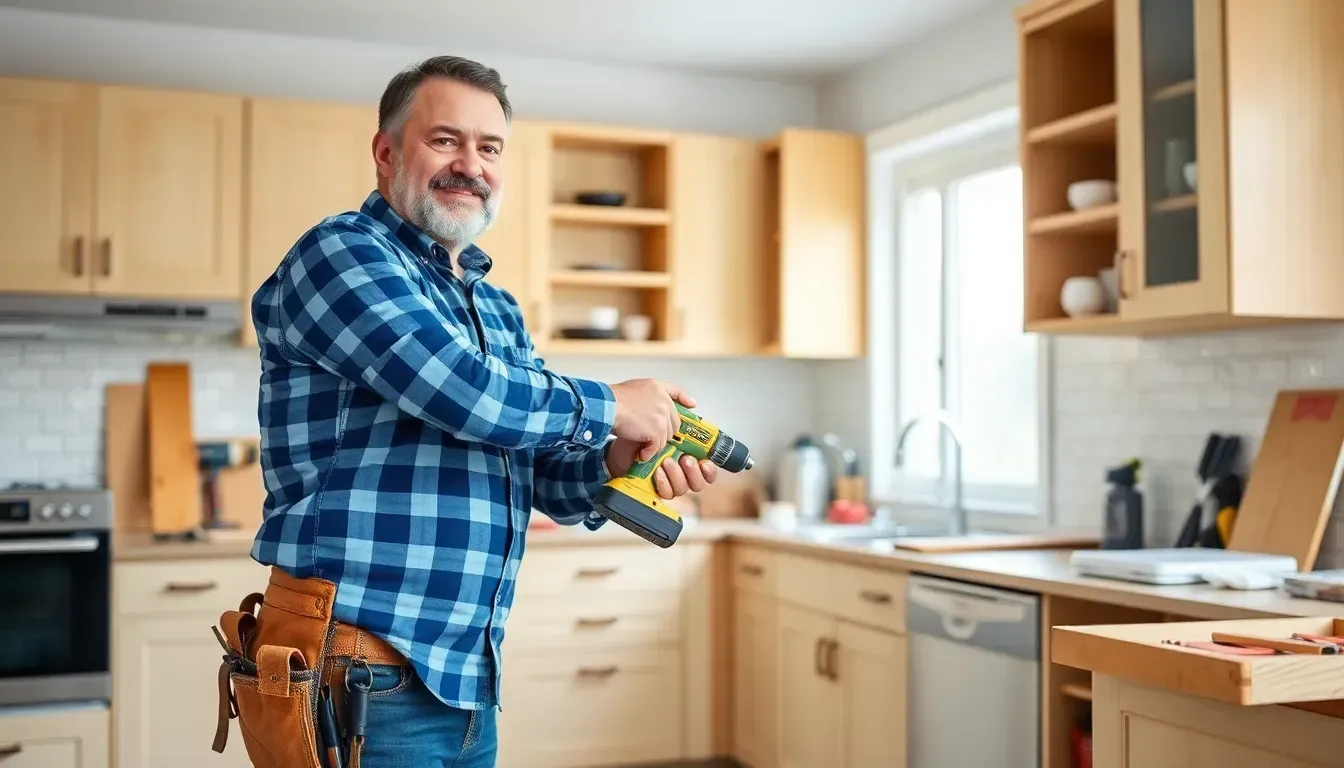
2. Choosing an Experienced Inspector


Picking an experienced home inspector is vital. Look for certifications from organizations like the American Society of Home Inspectors (ASHI) or the International Association of Certified Home Inspectors (InterNACHI). Such credentials confirm expertise in building standards. An experienced inspector offers a thorough evaluation, spotting visible and hidden defects.


3. Conducting the Inspection


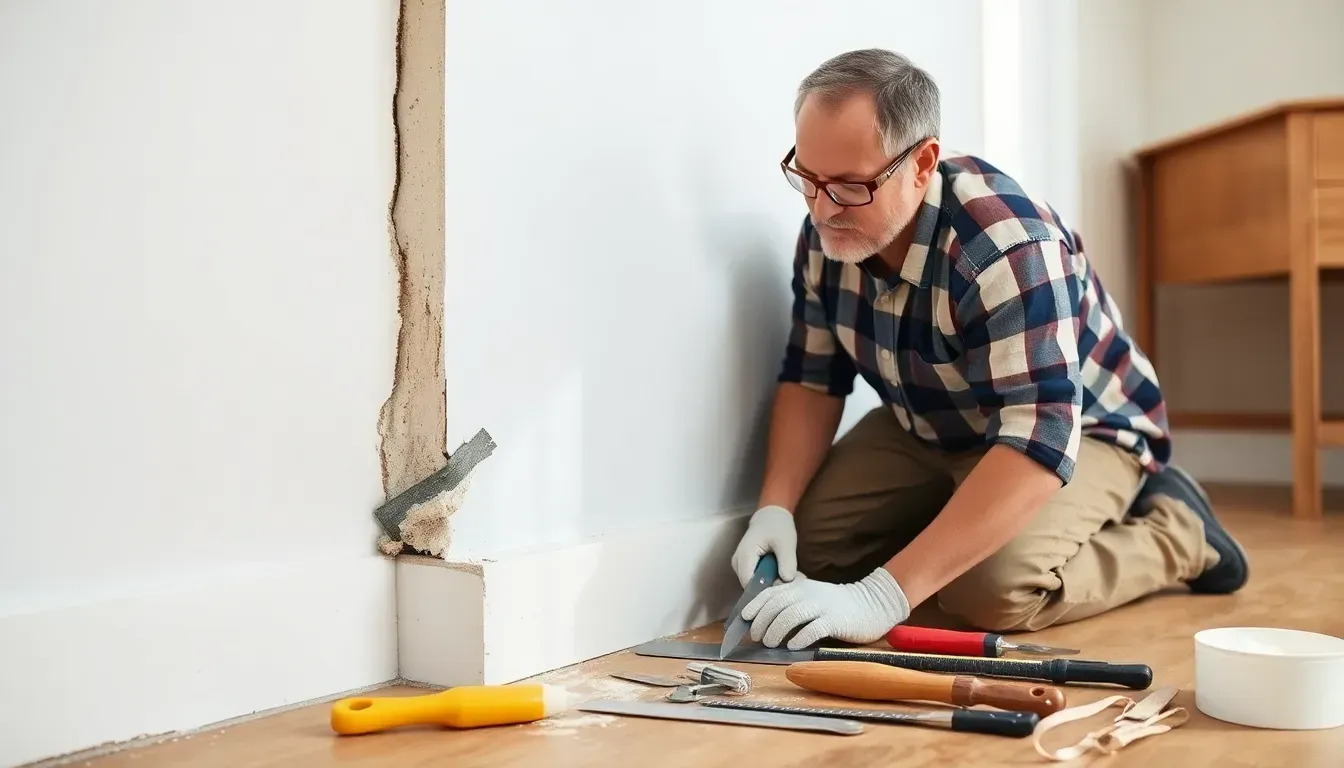
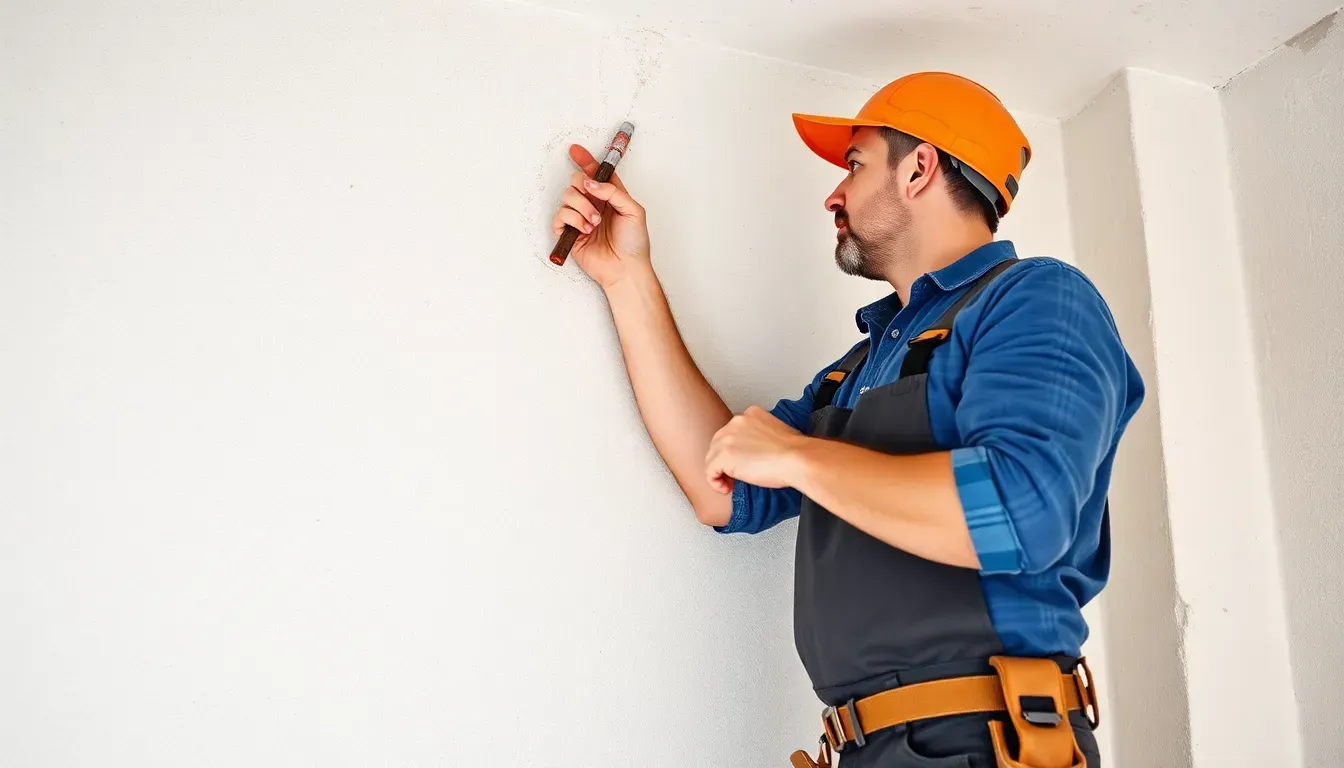
Inspectors focus on visible, accessible property components during inspections. Key areas include structural integrity, electrical systems, plumbing, and HVAC units. This process reveals potential issues affecting safety and value.


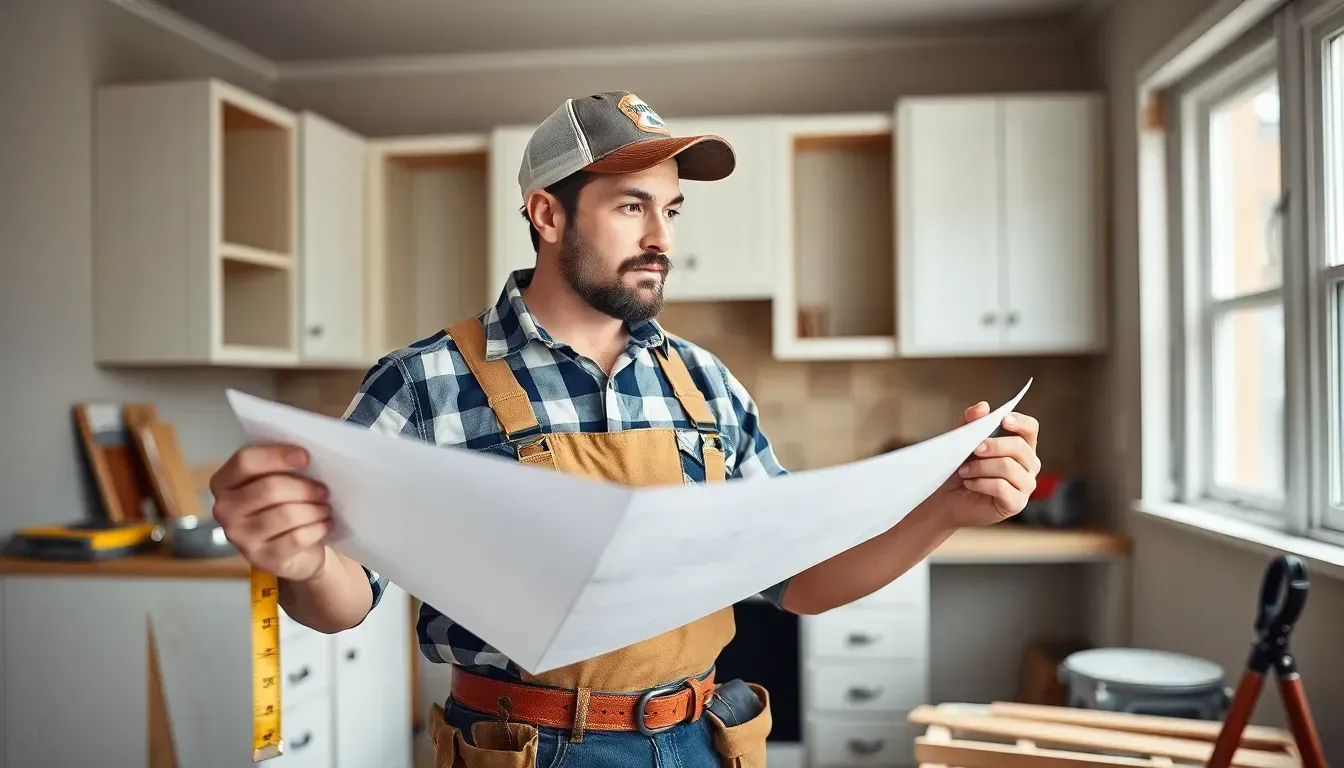
4. Receiving the Inspection Report


Buyers usually get the inspection report within 48 hours. It includes detailed findings, photos, and recommendations for addressing issues. This report is crucial for negotiations, providing a clear view of the property's condition.


5. Signing the Promise to Purchase


Inspection results heavily influence the Promise to Purchase signing. Major issues found may lead to repair negotiations or price adjustments. Conversely, a satisfactory report can speed up signing, securing the buyer's commitment. This step ensures all parties understand the property's condition and sale terms.


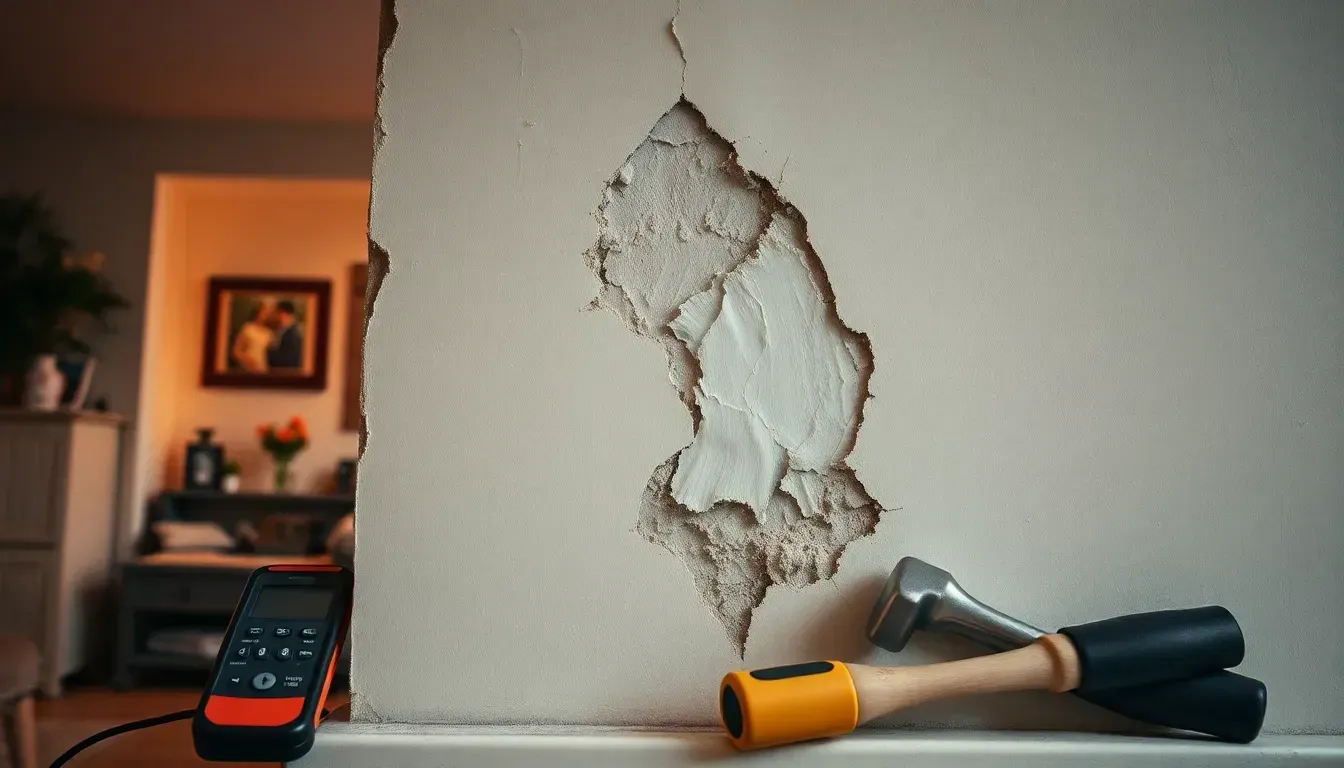
Common Issues Found During Home Inspections


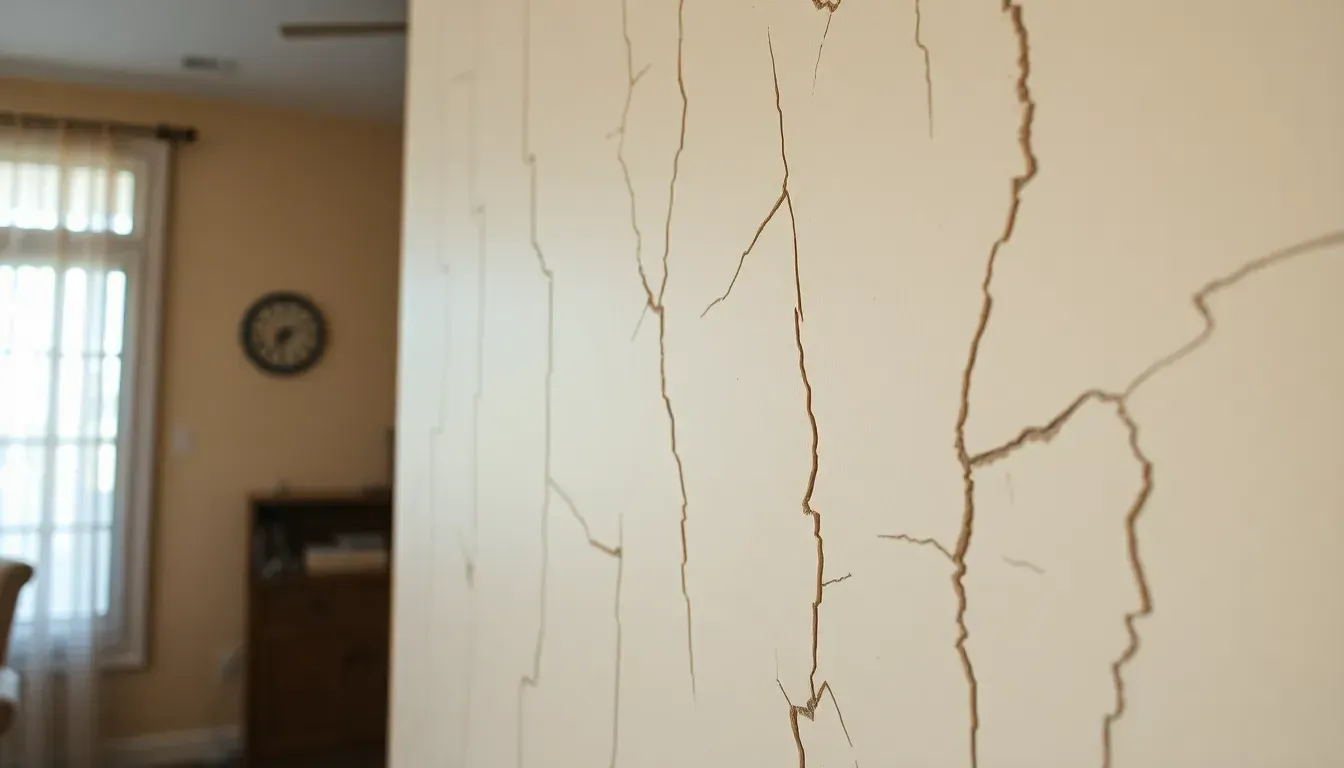
Structural issues are a top concern during inspections. Inspectors check foundations, support beams, and load-bearing walls for damage. For instance, Barry found a persistent leak under a shower that rotted a main beam, a serious missed issue. Such defects can destabilize property safety, leading to costly repairs. Early detection allows buyers to renegotiate terms or demand repairs, protecting their investment.


Mechanical and electrical problems often appear in reports. Inspectors check HVAC systems, plumbing, and electrical wiring for safety compliance. Faulty wiring and outdated panels pose fire risks, while plumbing leaks can cause water damage. Addressing these promptly prevents escalation and maintains home usability and efficiency.


Safety hazards found include:


  • Inadequate smoke and carbon monoxide detectors
  • Damaged handrails
  • Faulty wiring
  • Trip hazards
  • Mold or asbestos


Fixing safety issues is critical for occupant well-being and market value. Unresolved hazards deter buyers and lower appeal. Addressing risks enhances safety and property attractiveness, protecting investment and ensuring comfort.


Cost and Financial Considerations of Home Inspections


Cost-and-Financial-Considerations-of-Home-Inspections.jpg

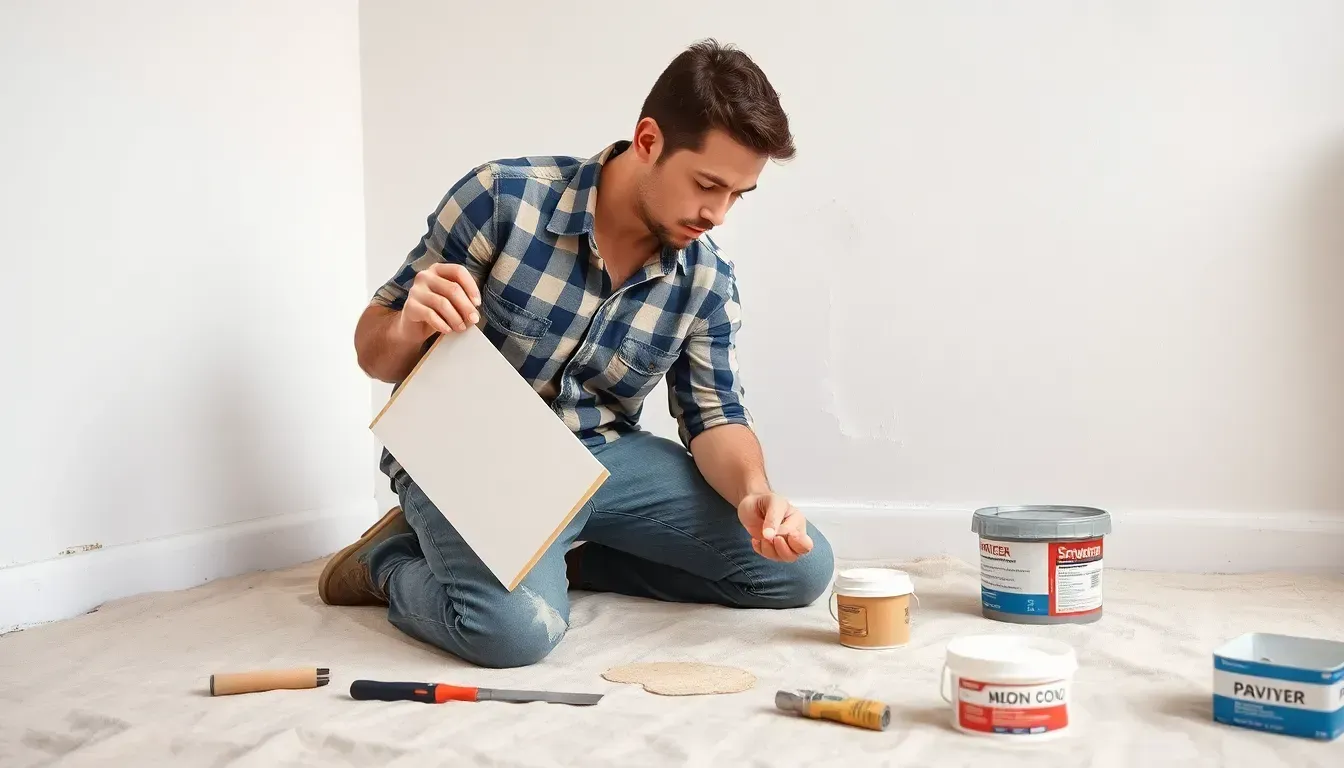
Home inspection costs vary by property type and size. Larger or architecturally unique homes may incur higher fees due to complex assessments. Costs range from a few hundred to over a thousand dollars. Specialized inspections, like those for older homes needing checks for lead or asbestos, add to the cost. Despite upfront expenses, early repair identification can save in the long run.


Inspection findings are negotiation tools in home buying. Major issues, like a faulty HVAC system, allow buyers to request price reductions or completed repairs. A real-life instance is a $5,000 price cut to cover repairs. Providing repair estimates from the report supports price adjustment requests, ensuring the final deal reflects the property's true condition.


Final Words


The article explored the critical role pre-purchase home inspections play in safeguarding property investments. By verifying a property's condition prior to purchase, potential costly repairs can be avoided, and buyers gain leverage to renegotiate deals if significant defects arise. The step-by-step guide provided a clear path to navigating the inspection process, emphasizing the importance of choosing a qualified inspector and understanding the inspection report.


FAQ


What is involved in a pre-purchase home inspection?


A pre-purchase home inspection involves examining a property’s structural, electrical, plumbing, and HVAC systems to identify defects before purchase, allowing buyers to renegotiate terms or avoid costly repairs.


How much do pre-purchase home inspections typically cost?


Inspection costs vary based on property type and size, generally ranging from $300 to $500. Prices can differ by location and inspection detail complexity.


What does a pre-inspection for a buyer entail?


Pre-inspection entails evaluating a property's condition to identify potential issues and defects, facilitating informed purchasing decisions or renegotiations.


What are common issues that might fail a home inspection?


Common issues include structural damage, plumbing leaks, electrical hazards, roof damage, and HVAC system failures, impacting property safety and value.


What is the biggest red flag in a home inspection?


A significant red flag is structural damage, such as foundation cracks, which can indicate serious underlying issues requiring costly repairs.

Woman holding paper on a kitchen counter
By Edward Fisher June 4, 2025
Planning a small remodeling project? Discover essential tips to make it stress-free and successful, from budgeting to design and project timelines.
Man handling a hand drill
By Edward Fisher June 3, 2025
Tackle your remodeling projects without the stress! Learn when to hire a handyman, what to expect, and how to get the best results for your home.
Mold behind a wall
By Edward Fisher June 2, 2025
Worried about mold behind your drywall? Learn how to detect hidden mold and remove it safely with this step-by-step guide to protect your home and your health!
Cracked wall
By Edward Fisher May 29, 2025
Noticing drywall bulging or bubbling? Discover the common causes and learn quick, effective solutions to fix the problem and protect your home’s structure.
Dry wall cracks
By Edward Fisher May 28, 2025
Tired of drywall cracks that keep coming back? Learn the real reasons behind recurring cracks and how to fix them for good with proven, long-lasting solutions.
Man repairing a wall
By Edward Fisher May 27, 2025
Drywall corner bead repair is a common yet often frustrating task for homeowners. Over time, corners can chip, crack, or become damaged due to everyday wear and tear or accidental impacts. These unsightly imperfections not only detract from a room’s aesthetics but can also lead to more significant issues if left unaddressed. Understanding the importance of maintaining these corners is crucial for preserving the integrity of drywall installations. Homeowners often find themselves searching for effective solutions to restore their walls to pristine condition. Whether it's a minor repair or a more extensive restoration, knowing how to tackle drywall corner bead repair can save time and money while ensuring a polished finish that enhances the overall look of a home. Overview of Drywall Corner Bead Repair Drywall corner bead repair addresses common damage to corners, essential for maintaining property aesthetics and structural integrity. Proper repair techniques restore functionality and extend the lifespan of drywall installations . Importance of Corner Bead Corner beads provide reinforcement and protection at drywall corners. They help prevent chipping, cracking, and damage from impacts, ensuring durability. Maintaining intact corner beads enhances the visual appeal of walls and contributes to a polished finish. Properly installed and maintained corner beads also comply with building codes, promoting long-term structural integrity. Common Issues with Corner Beads Corner beads often face several issues, including dents, cracks, and peeling paint. Dents occur due to accidental impacts with furniture or equipment, while cracks can develop from settling or temperature fluctuations. Peeling paint typically results from moisture exposure or improper application. Identifying and addressing these common issues promptly prevents further damage, ensuring the longevity of drywall corners. Tools and Materials Needed For drywall corner bead repair, specific tools and materials facilitate efficient and effective restoration. Utilizing the correct items ensures a smooth repair process. Essential Tools Utility Knife : Cuts drywall or corner bead accurately. Taping Knife : Spreads joint compound smoothly over the repair. Putty Knife : Fills small gaps and applies joint compound to tight spaces. Drywall Saw : Allows for cutting drywall to fit around corner areas easily. Measuring Tape : Ensures precise measurements for accurate cuts. Screw Gun : Secures corner bead to the drywall effectively. Recommended Materials Corner Bead : Provides structural support and protects corners from damage. Joint Compound : Fills gaps and creates a seamless finish on the repairs. Drywall Tape : Reinforces joints and binds the materials together securely. Primer : Prepares the surface for paint, ensuring smooth coverage. Paint : Matches the wall color after repairs, restoring the aesthetic. Using these tools and materials guarantees effective drywall corner bead repair, enhancing the integrity and appearance of the home. Step-by-Step Repair Process
Man crouching on the floor with paint
By Edward Fisher May 27, 2025
Learn how to fix drywall holes quickly and easily with this step-by-step guide. Restore your walls and improve your home’s appearance in no time.
By Edward Fisher May 24, 2025
Water damage can wreak havoc on a home, especially when it comes to drywall. Homeowners often face the frustrating challenge of identifying the source of the leak, dealing with mold growth, and figuring out the best way to repair the damage. With drywall being a key component of interior aesthetics and insulation, addressing these issues promptly is crucial to maintain both safety and comfort within the home. Fixing water-damaged drywall isn't just about patching up holes; it involves understanding the underlying issues that caused the damage in the first place. From leaks in plumbing to roof problems, homeowners need a comprehensive approach to ensure lasting solutions. Fortunately, with the right knowledge and tools, it's possible to restore your walls and protect your home from future damage. Overview of Water Damaged Drywall Water-damaged drywall often manifests as discoloration, sagging, or peeling paint. Identifying the source of water intrusion is crucial, as unresolved leaks can lead to further damage and mold growth. Common sources of water damage include plumbing leaks, roof leaks, or flooding. Addressing these issues promptly prevents extensive repairs and enhances safety. Repairing water-damaged drywall involves several steps. First, assess the extent of the damage. Minor issues may require patching and repainting, while severe damage necessitates replacing entire panels. Next, dry out the affected area using fans or dehumidifiers to mitigate mold growth. After ensuring the area is dry, cut out the damaged sections using a utility knife. Install new drywall according to local building codes. Secure it properly to the studs, ensuring a level surface. Apply joint compound and tape to seams for a seamless finish. Sand the surface once dry, and paint to match the existing wall. Implementing preventive measures is essential to avoid future water damage. Regular inspections of plumbing and roofing systems catch issues before they escalate. Homeowners should also consider installing moisture detection systems to alert them of potential leaks. For effective remediation, consulting professionals experienced in fixing water-damaged drywall is advisable. Their expertise ensures compliance with regulations and enhances the durability of repairs. Causes of Water Damage
Man holding a book in the middle of a room
By Edward Fisher May 22, 2025
Preparing your home for handyman construction work can feel overwhelming. Homeowners often face frustrations like unclear timelines, unexpected costs, and the disruption of daily routines. Whether it's a small repair or a major renovation, the thought of having workers in your space can add to the stress. However, taking the right steps can make the process smoother and more efficient. By understanding the importance of proper preparation, homeowners can minimize disruptions and ensure that their projects run as smoothly as possible. With expert guidance and practical tips, this article will help you navigate the preparation process, setting the stage for a successful handyman experience. Understanding Handyman Construction Work Handyman construction work encompasses a variety of services designed to assist homeowners in maintaining and improving their properties. These tasks range from minor repairs to significant renovations and ensure the home remains functional and aesthetically pleasing. Types of Handyman Services Handyman services include various specialties aimed at addressing different needs. Common types encompass plumbing repairs, electrical installations, drywall repair, paint jobs, and carpentry work. Homeowners may also require seasonal maintenance tasks, such as gutter cleaning and HVAC servicing. These diverse offerings make handyman services a one-stop solution for many home improvement issues. Importance of Preparation Effective preparation streamlines handyman construction work and minimizes disruptions. Homeowners should compile a list of tasks, gather necessary materials, and clear work areas in advance. Communicating specific requests and expectations to the handyman ensures that the project aligns with the homeowner's vision. This level of organization contributes to smoother execution and better outcomes, ultimately leading to a more satisfying experience. Assessing Your Space
Handyman looking at large paper
By Edward Fisher May 21, 2025
Homeowners often find themselves overwhelmed when faced with repairs, renovations, or maintenance tasks. The decision between hiring a handyman or a contractor can lead to confusion and frustration, especially when considering costs, expertise, and the scope of work involved. Many struggle to understand which option best suits their needs, leading to uncertainty and potential delays in getting projects completed. Accurate Home and Commercial Services aims to alleviate these concerns by providing clear, reliable insights into the cost breakdown of handyman versus contractor services. With over 25 years of experience, their knowledgeable team helps homeowners navigate the complexities of property evaluations and repairs, ensuring a stress-free process. By offering accurate assessments and tailored solutions, they empower homeowners to make informed decisions, ultimately leading to successful home improvement projects. Overview of Home Repair Options Homeowners often face two primary options for repairs: hiring a handyman or contracting a professional . Each option has unique advantages, depending on the scope and complexity of the work involved. Handyman Services Handyman services typically cover minor repairs and maintenance tasks. These tasks may include plumbing fixes, electrical work, carpentry, and painting. Handymen offer flexibility in scheduling and can often complete multiple tasks in a single visit, which can save time. Homeowners looking for quick fixes or general maintenance typically find handymen to be cost-effective and reliable. Contractor Services Contractors excel in managing larger renovation and construction projects. They possess specialized skills and knowledge, making them ideal for significant updates such as room additions, remodels, or extensive repairs. Contractors typically oversee subcontractors and ensure compliance with local building codes. Homeowners requiring extensive renovations or who seek structural alterations typically lean towards hiring licensed contractors. Comparison of Options The choice between handyman and contractor largely depends on the project’s requirements. Handymen supplement the needs of homeowners for minor repairs and routine maintenance. Contractors cater to complex projects requiring detailed planning and labor-intensive skills. Evaluating the level of expertise required, timeline, and overall budget assists homeowners in making informed decisions. When considering options for home repairs or renovations, weighing the specific needs of the project facilitates choosing the best service route. Ultimately, aligning the complexity of the repairs with the appropriate service sets the groundwork for successful home improvements.  Cost Comparison Between a Handyman and Contractor