Fix Drywall Holes Fast: Simple Repair Steps to Restore Your Walls
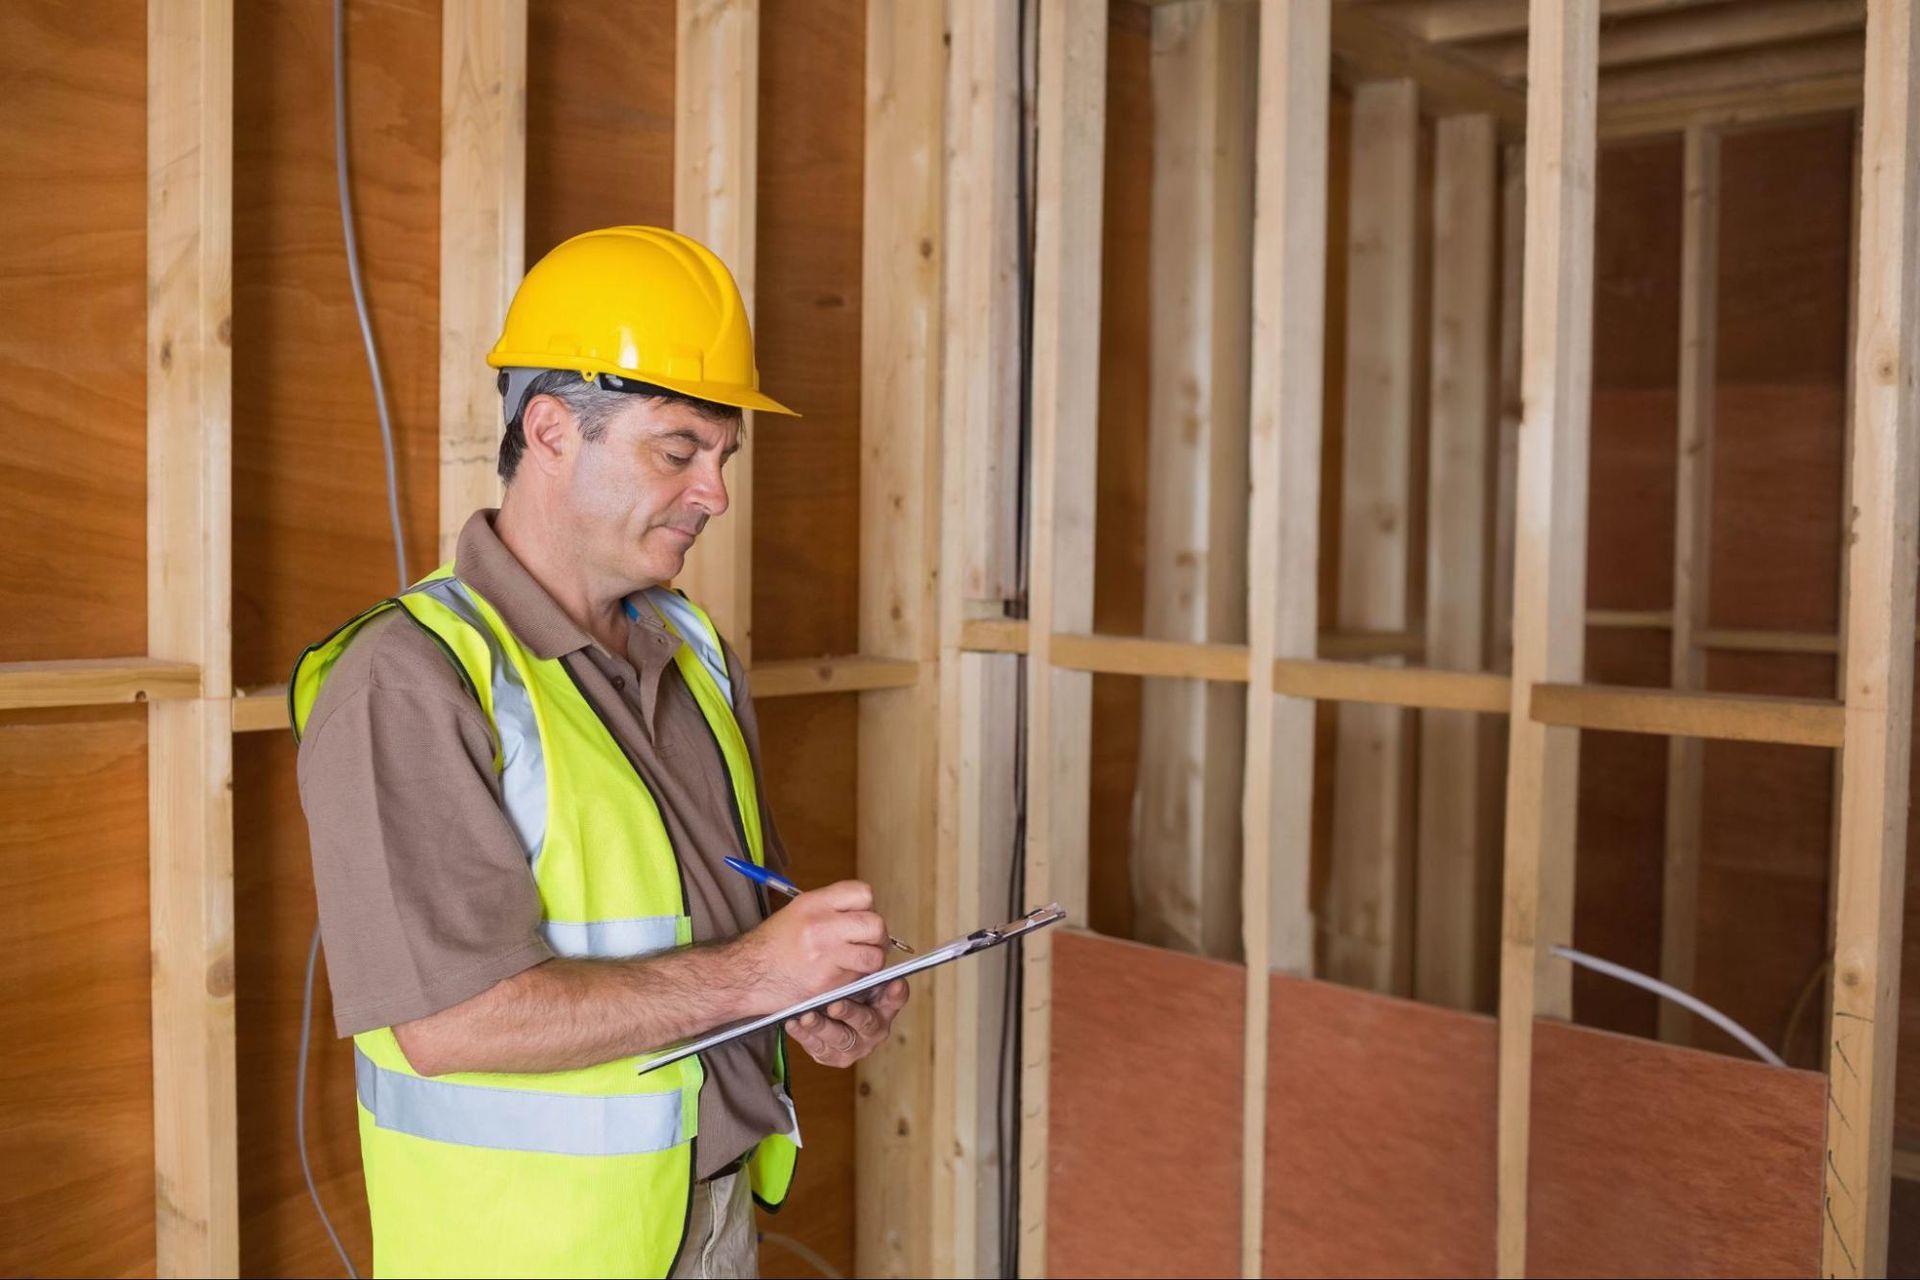
Drywall damage is a common headache for homeowners, whether it’s from accidental bumps, water damage, or wear and tear. These unsightly holes can disrupt the flow of a room and diminish the overall aesthetic of a home. Tackling drywall hole repair might seem daunting, but understanding the process can make it easier and more manageable.
Homeowners often feel overwhelmed by the thought of repairs, fearing that they’ll need to hire a professional or invest significant time and effort. However, with the right techniques and tools, anyone can confidently address drywall damage. This article will guide you through the essential steps to effectively repair those pesky holes, restoring your walls to their former glory and ensuring a polished, finished look in your living space.
Understanding Drywall Hole Repair
Drywall repair involves addressing various types of holes that may affect the integrity and appearance of walls. Understanding the specific types of holes and their common causes simplifies the repair process.
Types of Drywall Holes
- Small dents: Often caused by accidental bumps or furniture movement, these minor damages require filling compounds for effective repair.
- Medium holes: Typically range from one to four inches in diameter and may result from doorknobs or loose objects. These holes often need a patching technique using drywall pieces and joint compound.
- Large holes: Exceeding four inches, large holes may emerge from significant accidents or electrical work. Repairing these demands a more extensive approach, including installing support and a larger patch.
Common Causes of Holes
- Accidental damage: Frequent bumps from furniture or equipment can easily create holes and dents on walls.
- Water damage: Leaks or moisture issues lead to sagging or crumbling drywall, necessitating repairs.
- Wear and tear: Over time, everyday use contributes to the formation of holes and surface imperfections.
- Improper installations: Poorly secured fixtures or items can tear drywall, creating holes that need immediate attention.
Understanding drywall hole repair ensures homeowners maintain the aesthetics and functionality of their living spaces.
Tools and Materials Needed
Repairing drywall holes requires specific tools and materials to ensure a smooth and effective finish. Having the right items on hand streamlines the process and enhances the final outcome.
Essential Tools
- Utility knife: A sharp utility knife helps cut drywall cleanly for patching or repair.
- Drywall saw: A drywall saw aids in cutting larger sections of drywall efficiently.
- Hand sander: A hand sander smooths edges and surfaces after applying joint compound.
- Tape measure: A tape measure ensures accuracy in cutting and placing patches.
- Putty knife: A putty knife spreads joint compound evenly across holes and seams.
- Level: A level verifies that patches are straight and properly aligned.
Recommended Materials
- Drywall patch: A drywall patch serves as a base to repair medium holes effectively.
- Joint compound: Joint compound fills gaps and smooths surfaces for a seamless finish.
- Drywall tape: Drywall tape reinforces joints and helps prevent cracking.
- Primer and paint: Primer and paint restore the wall's appearance and blend repairs.
- Texture spray: Texture spray mimics the existing wall finish for a uniform look.
- Sandpaper: Fine-grit sandpaper smooths surfaces prior to priming and painting.
Step-by-Step Drywall Hole Repair Process
Follow this straightforward process to effectively repair drywall holes of varying sizes. Each step ensures a professional finish, enhancing the aesthetics of living spaces.
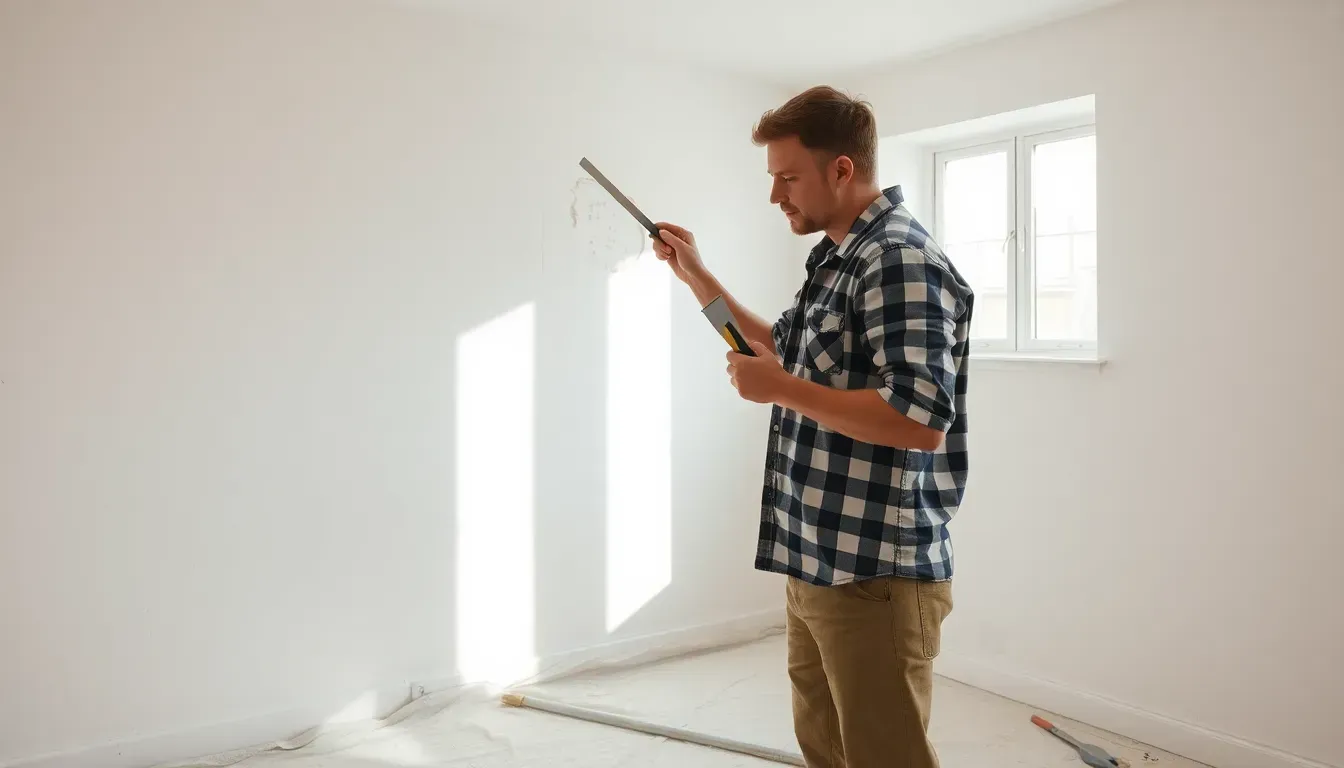
Preparing the Area
Clear the workspace by moving furniture and covering the floor with a drop cloth. Inspect the hole for loose debris or damaged drywall. Use a utility knife to trim the edges of the hole for a clean, even surface. Remove any dust or debris with a hand sander or vacuum, ensuring the area is ready for repair.
Repairing Small Holes
Fill small holes, such as those from nails or screw heads, with spackling compound. Use a putty knife to apply the compound, smoothing it flush with the wall surface. Allow the compound to dry completely, which typically takes a few hours. Sand the area lightly until smooth, then apply primer followed by paint for a seamless appearance.
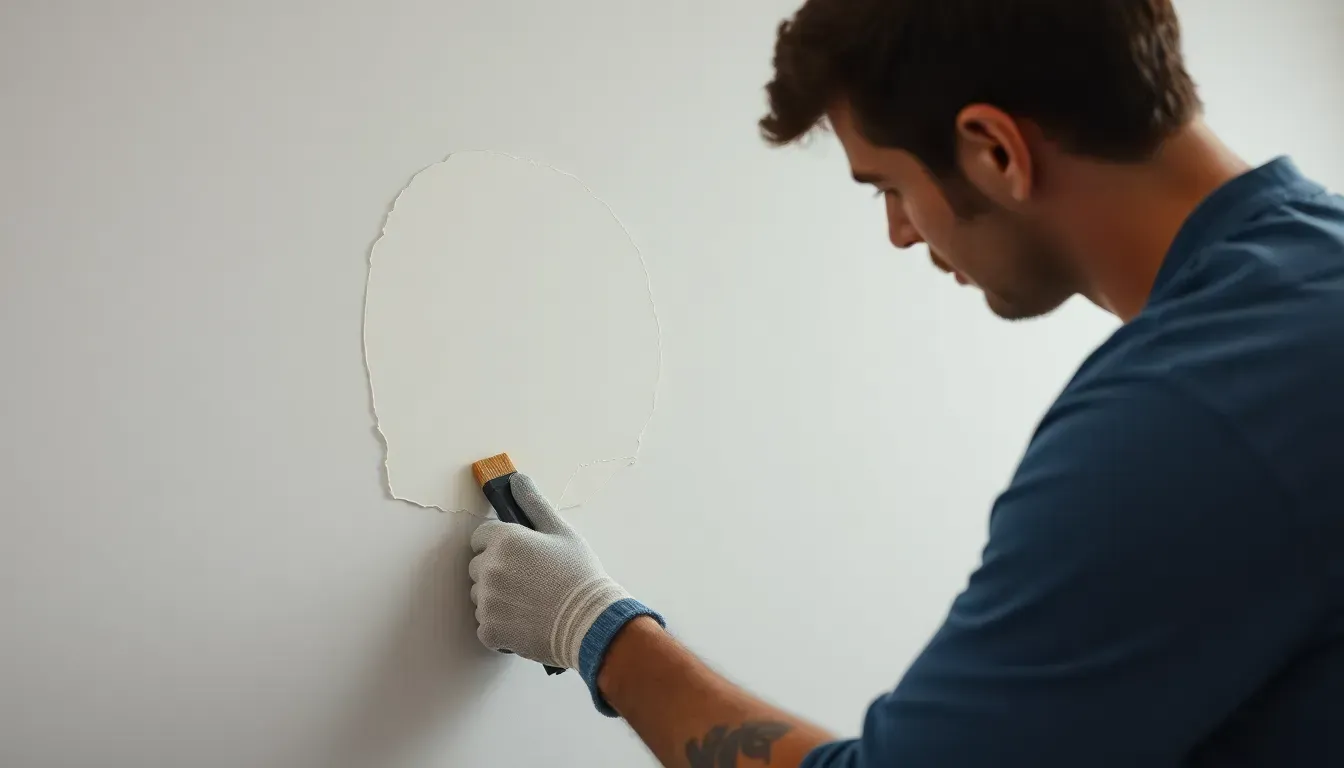
Repairing Large Holes
For large holes, cut a piece of drywall to fit the hole and secure it with drywall screws. Use drywall tape to cover the seams, applying joint compound over the tape. Smooth the compound with a putty knife and let it dry. Once dry, sand the area, apply additional layers of joint compound if necessary, and finish with primer and paint for an even look.
Finishing Touches
Finishing touches enhance the overall appearance and durability of drywall repairs, ensuring a professional look.
Sanding and Smoothing
Sanding provides a smooth surface after joint compound application. Start with a medium-grit sandpaper to remove any excess compound. Follow with a fine-grit sandpaper for a polished finish. Move the sander in circular motions to avoid uneven surfaces. Check for imperfections after sanding. If necessary, apply additional joint compound, sand again, and feather the edges to blend with the surrounding wall.
Painting and Touch-Up
Painting completes the drywall repair process. Choose a primer specifically designed for drywall before applying the final paint. Apply a coat of primer and allow it to dry thoroughly. Next, use a high-quality paint that matches the existing wall color. Use a roller for larger areas and a brush for touch-ups. Ensure even application for a seamless appearance. Once dry, inspect the area for consistency, and perform any final touch-ups needed for thorough coverage.
Conclusion
Repairing drywall holes doesn’t have to be a daunting task. With the right tools and techniques, homeowners can tackle these repairs confidently. Understanding the specific methods for different hole sizes ensures a more effective and visually appealing outcome.
By following the outlined steps and paying attention to the finishing touches, anyone can restore their walls to a like-new condition. This not only enhances the aesthetics of a home but also contributes to its overall value. Embracing these DIY repairs empowers homeowners to maintain their living spaces with ease and pride.
Frequently Asked Questions
What common causes lead to drywall damage?
Drywall damage can occur from various sources, including accidental bumps, water damage from leaks, general wear and tear, and improperly installed drywall. Identifying these causes helps homeowners understand potential issues and prevent future damage.
How can I repair small drywall holes?
To repair small drywall holes, use a spackling compound and a putty knife. Fill the hole with the compound, smoothing it out until it's flush with the wall. Allow it to dry, then sand it lightly before touching up with paint for a seamless finish.
What tools do I need for drywall repair?
Essential tools for drywall repair include a utility knife, drywall saw, hand sander, putty knife, tape measure, and a level. Having these tools ready will make the repair process easier and ensure a professional finish.
How do I repair medium holes in drywall?
For medium holes, start by cutting a piece of drywall to fit the hole. Secure it with screws, then cover the seams with drywall tape. Apply joint compound over the tape and smooth it out. Once dry, sand and paint for a finished look.
What steps should I follow to repair large drywall holes?
To repair large drywall holes, begin by cutting a drywall patch to fit. Attach it with screws, then apply drywall tape over the seams. Cover with joint compound, sand it smooth, and finish with primer and paint to match the surrounding area.
Why is sanding important in drywall repair?
Sanding is crucial in drywall repair to create a smooth and even surface before painting. It helps eliminate imperfections and ensures that joint compound is flush with the wall, leading to a professional, seamless appearance once the area is painted.
How can I make my drywall repair blend in with the rest of the wall?
To achieve a seamless blend, use a primer designed for drywall before painting the repaired area. Match the surrounding paint color, and consider using texture spray if the original wall has a texture to ensure visual consistency.
Can I repair drywall myself, or should I hire a professional?
Many homeowners can successfully repair drywall themselves with the right tools and materials, as outlined in the article. If the damage is extensive, or you’re uncertain, hiring a professional is a good option to ensure quality results.